


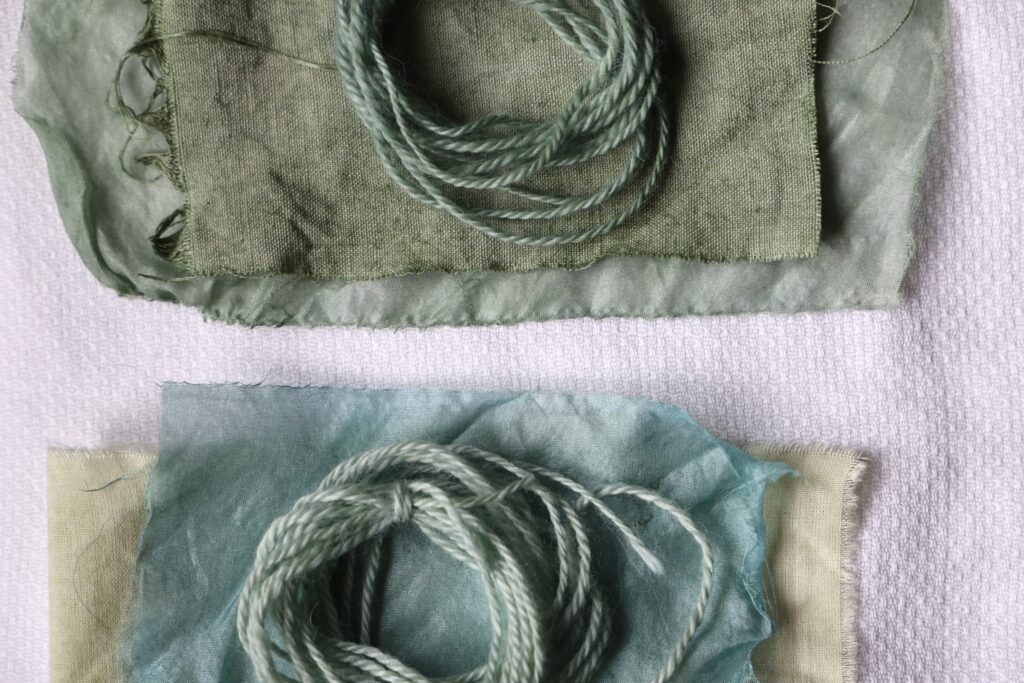
Natural Dyeing with Fresh-Leaf Indigo
The process of natural dyeing with fresh-leaf indigo is something that occupied much of my brain space during 2024. This article covers what indigo is, why dyers love it, and how indigo grows in a cold climate like Ireland. Learn about harvesting and preparing the fresh leaf indigo, different techniques for extracting the dye, along with instructions on how to dye your fibre using cold water, fresh indigo leaves and a blender!
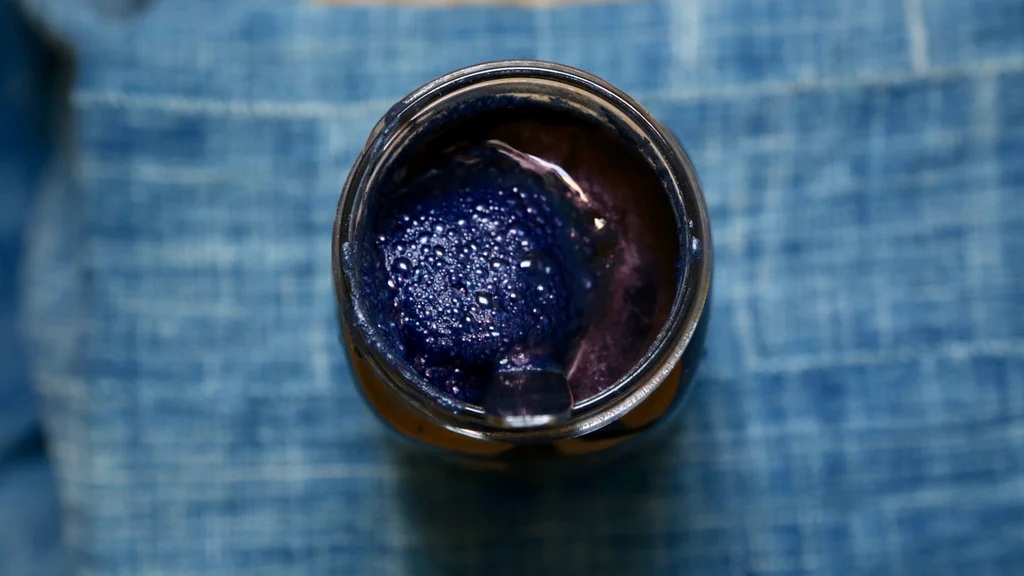
What Is Indigo?
Indigo is one of the oldest natural dyes, used for thousands of years. Evidence of Indigo dye is found throughout Egypt, Palestine, South America, Asia, and Africa, with each region developing their own methods and traditions around this incredibly vibrant blue dye.
Indigo is a blue pigment found in the leaves of over 300 species of plants worldwide. These dye-bearing plants contain the chemical compound Indican. However, only a few of these species produce enough pigment for dyeing.
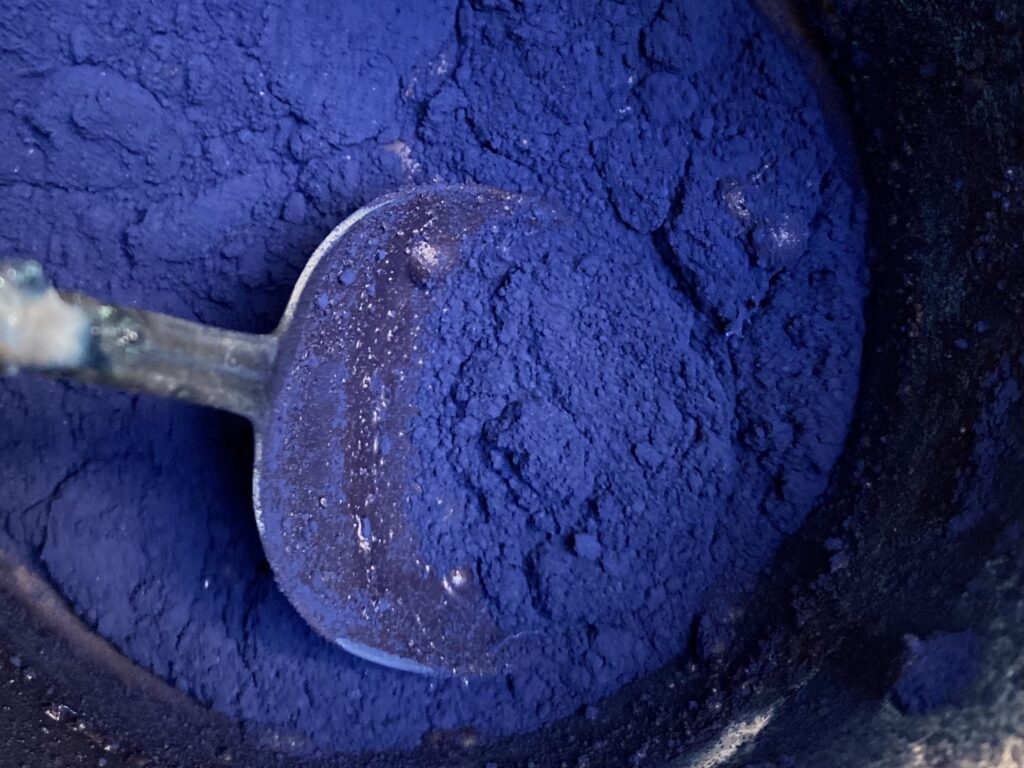
Traditionally, indigo dye preparation involves harvesting, fermenting, and drying the leaves. Fermentation releases the indigo proper from its primary state of indican, resulting in a paste that is then dried and shaped into blocks, balls, or powdered form.
Why This Dye Is a Favourite Among Natural Dyers
Indigo was the first dye I worked with; it was my gateway drug into natural dyeing. It got me hooked on the magic, the alchemy and the beauty of natural colour, and there was no turning back. There is something incredibly satisfying and engaging about working with indigo dye. Tending to a vat takes a mix of patience and alchemy, requiring care and an understanding of its mysterious chemistry. There’s nothing quite like the moment when fabric is pulled from the vat—first greenish-turquoise, then transforming into the richest, most enchanting blue as it oxidises. It’s a mysterious, almost meditative process offering blues so compelling you can feel their aliveness!
Natural dyeing with fresh-leaf indigo is a completely different experience from working with a traditional indigo vat. From planting seeds and caring for the plants all summer to seeing their colours transform my swatches—it’s a natural dyeing experience like no other. Growing even a few dye plants has added a whole new dimension to my practice. Now all I need is a plot of land!

Natural Dyeing With Fresh Leaf Indigo
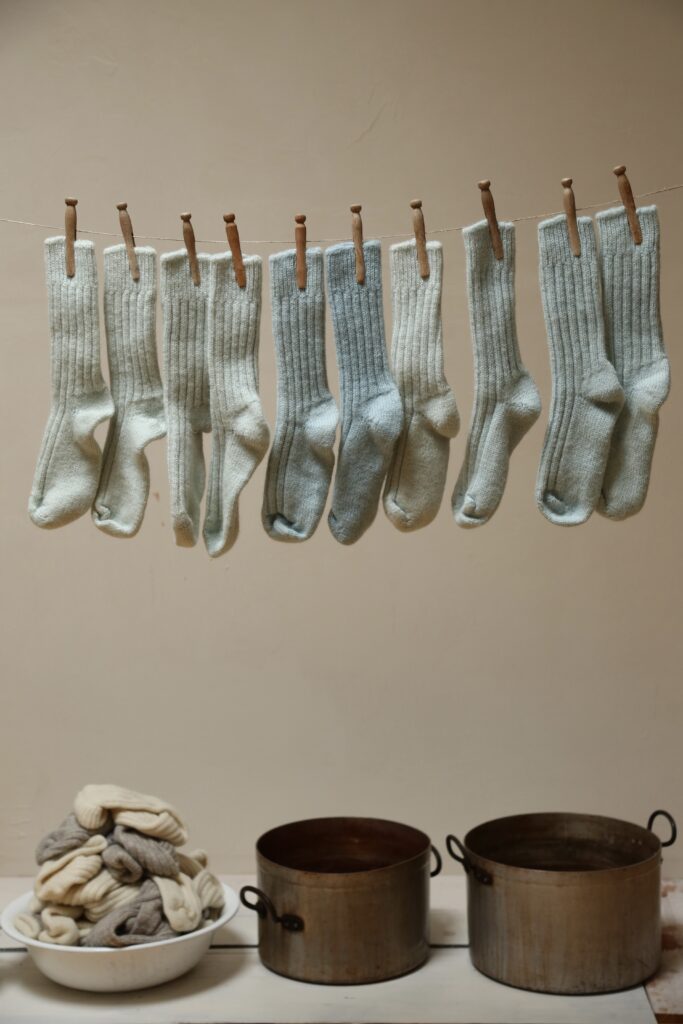
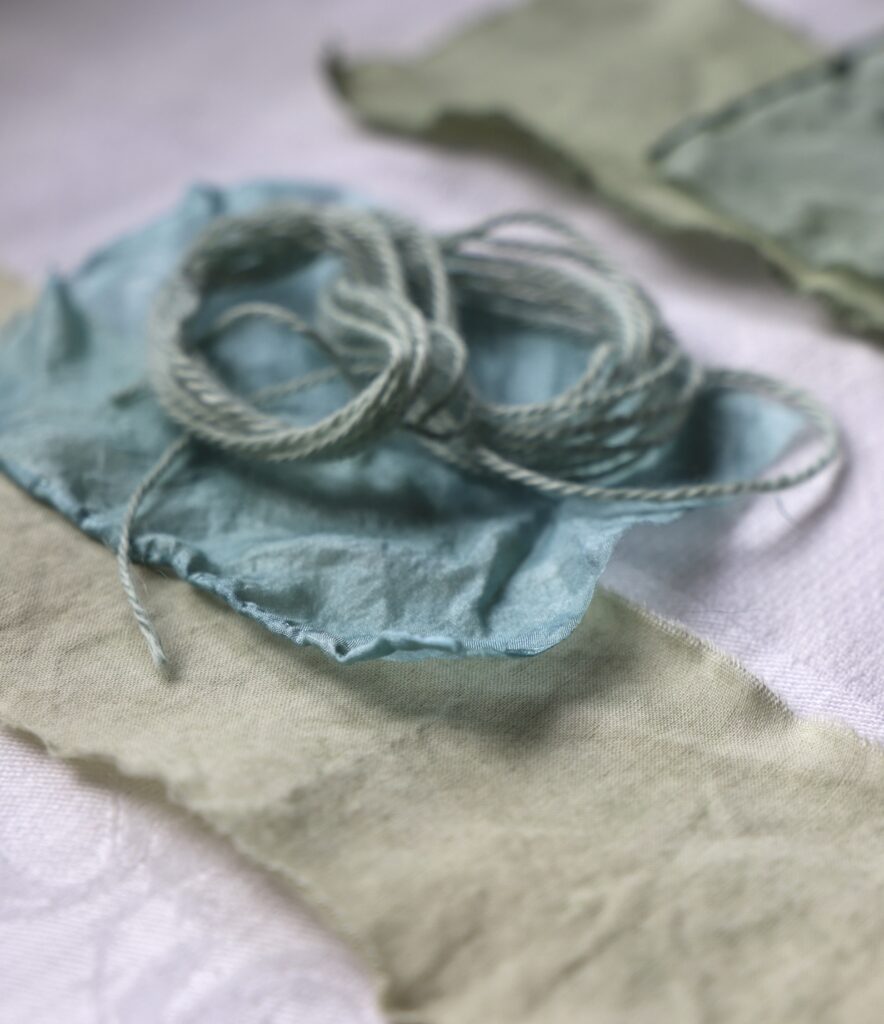
When I saw how John Marshell uses simple techniques & fresh leaf indigo to create beautiful shades of Robin’s Egg Blue, I knew I had to give this a go. The species I used for these natural dye experiments was Japanese Indigo, also known as Persicaria tinctoria. I ordered my seeds from Grand Prismatic and successfully grew indigo despite a dull, cold summer & a challenging season for many growers. I’ve often wondered how difficult it might be to grow indigo in Ireland, and after these experiments, I’m delighted with how easy it was to grow and dye with. (I like all things low-maintenance!)
Growing Indigo Plants
Some say to grow indigo plants in a colder climate, the plants require 6-8 hours of sunlight daily, a greenhouse or warm growing area and heavily manured soil.
I don’t have a greenhouse or a suitable warm growing area, and my soil had compost but no manure! Without a greenhouse or polytunnel, growing tomatoes was challenging this year, but the indigo flourished despite the weather. If I can grow indigo here in Ireland, with little sun and lower temperatures, then I hope this inspires you to give it a go!
Here’s What I Learnt About Growing Indigo In Ireland!
- Start your seeds early in February-April for a longer growing season.
- Start seeds on a windowsill and re-pot as they grow.
- Transplant outside once they are 3-5″ tall or when you think they need to leave the house!
- I experimented with growing the plants in containers and the earth. While the ones in the pots grew vigorously, the plants in the earth looked greener, stronger and all-around healthier.
- Feed your plants with seaweed fertiliser or tomato feed 1-2 times a week during the warmer months.
- Keep the plants watered; they were the first to show signs of thirst on dry days.
Harvesting and Preparing Fresh Indigo Leaves
Fresh-leaf indigo, as the name suggests, refers to the freshly harvested leaves of the indigo plant. The leaves are used to dye fibres directly, producing stunning shades of turquoise, aqua, green, and blue. Leaves are at their peak pigment production right before and as they flower. However, pigment is still available after flowering.
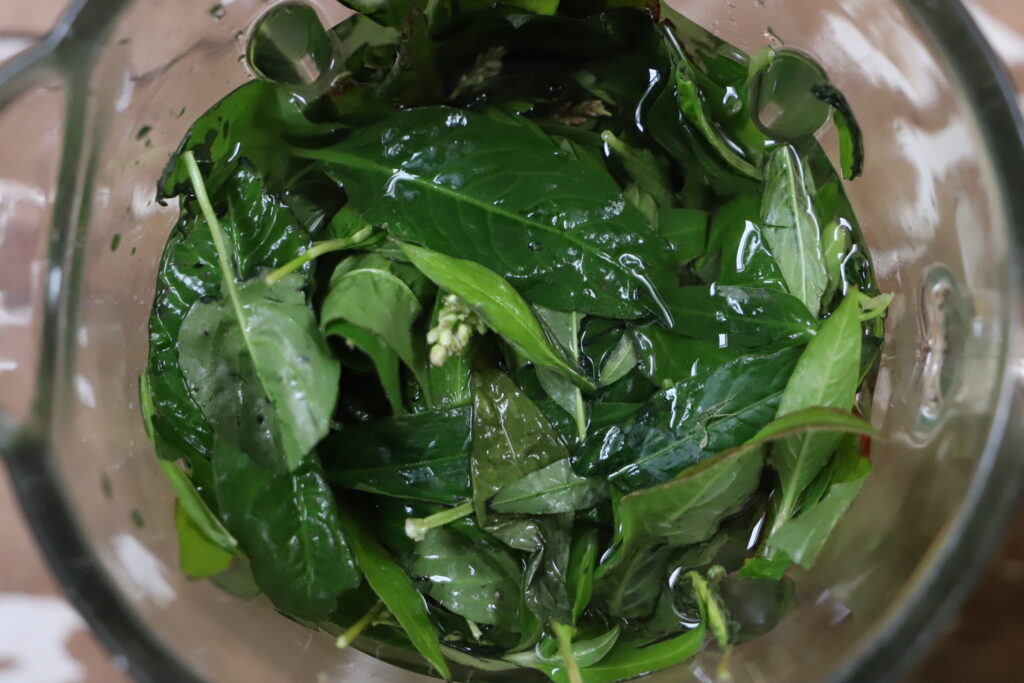
To harvest your leaves, cut the stems 3-5″ from the soil, leaving the shoots to regrow. Remove leaves from the stems. There is no need to cut or prepare the leaves further, as we will be adding them to a blender.
Natural Dyeing with Fresh-Leaf Indigo: Different Techniques
There are a few techniques for working with fresh-leaf indigo:
- Direct Fresh-Leaf Rub Method: You can rub, hammer, or pound the leaves directly onto fabric, leaving behind a unique leaf pattern as the natural dye transfers.
- Salt Rub Extraction: You can rub salt into the fresh leaves to extract the pigment, then add your fibre directly, rubbing the leaves & dye into your fibre.
- Cold Water & Blender Extraction: Add your leaves to a blender, cover with cold water and blend. Strain out the liquid and add your fibre directly to the dye.
Cold Water & Blender Extraction
The process of extracting the dye using a blender was straightforward if you ignore the fact that my blender came apart and the mixture spilt all over the counters and floor. Not once but twice!!! Apart from that, the process was simple and the colour results were beautiful.
To Naturally Dye with Fresh-leaf Indigo You Will Need:
- Blender
- Cold water
- Fresh indigo leaves removed from the stem
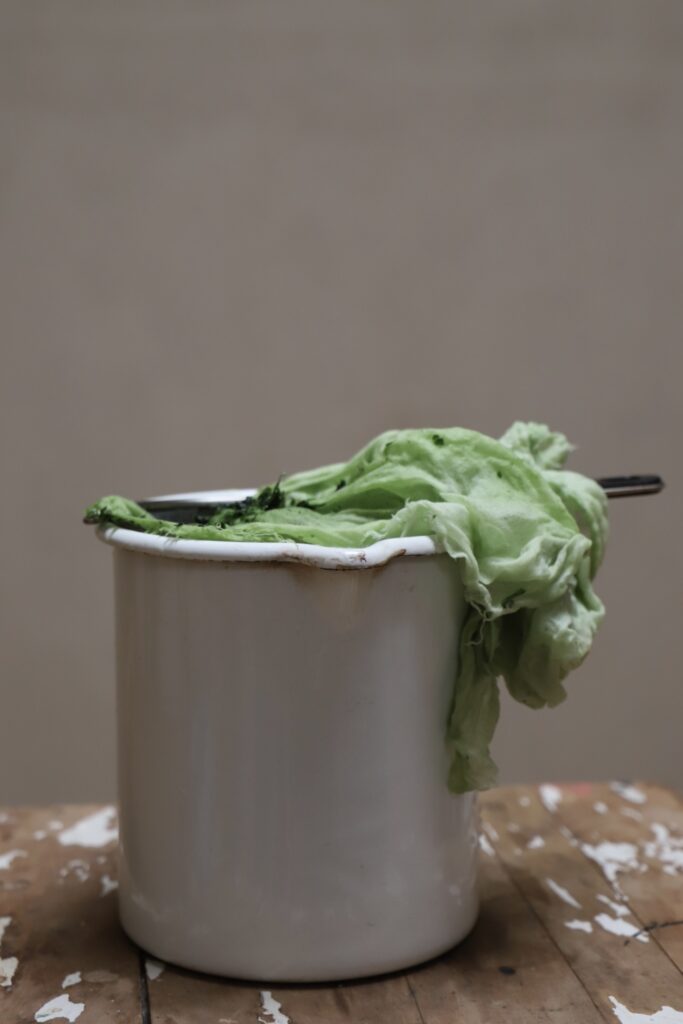
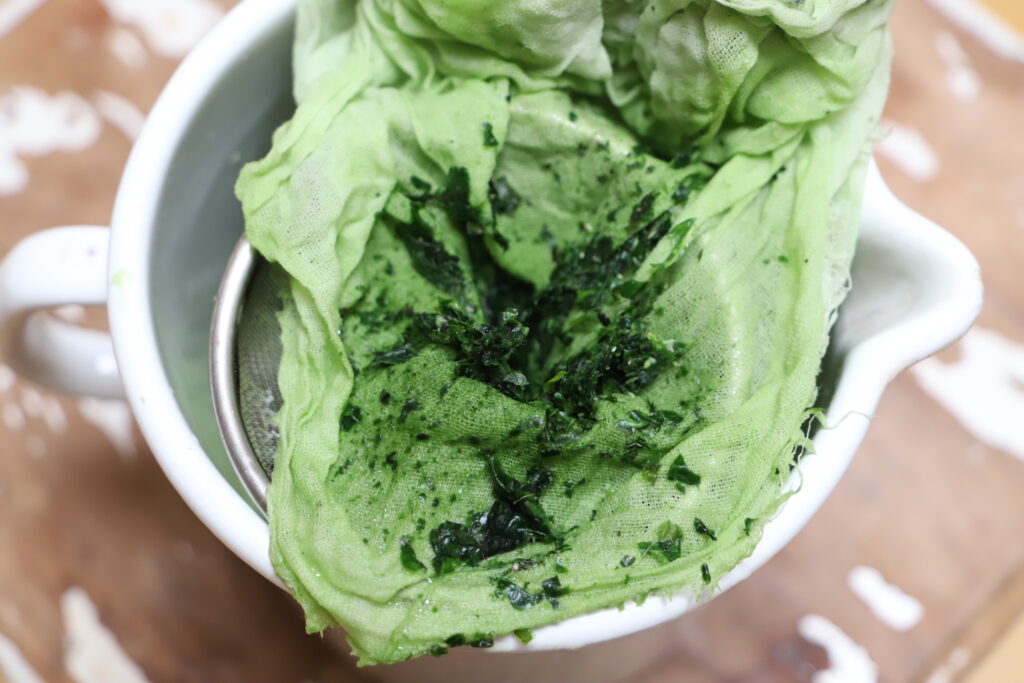
- Sieve & muslin cloth
- Basin or container to hold your strained dye
- Pre-soaked swatches of scoured fibre to dye: silk & animal fibre work best
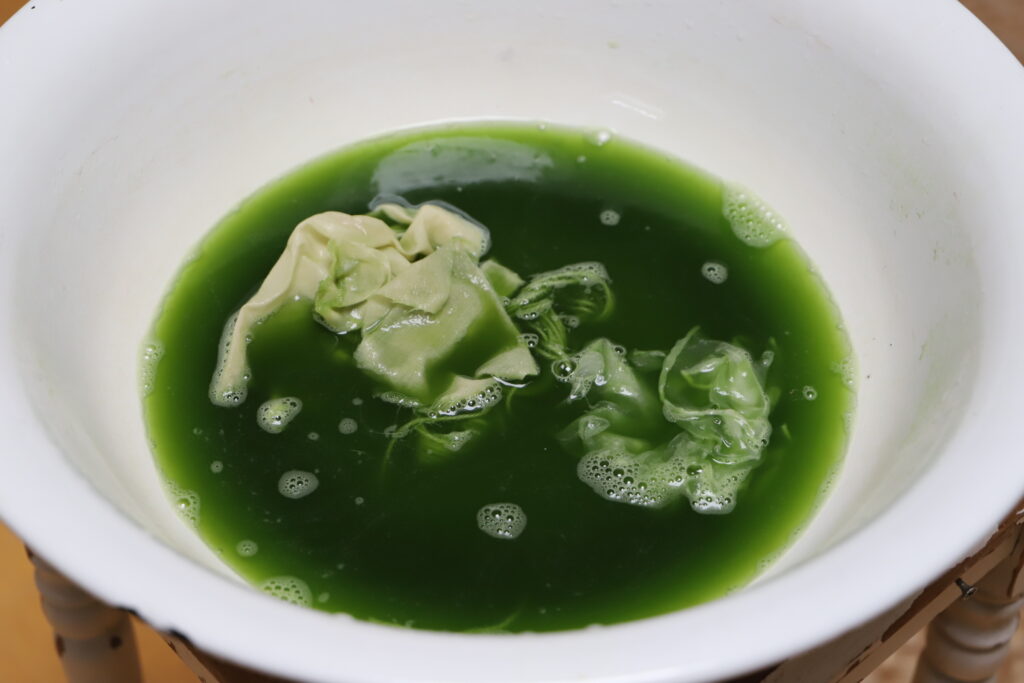
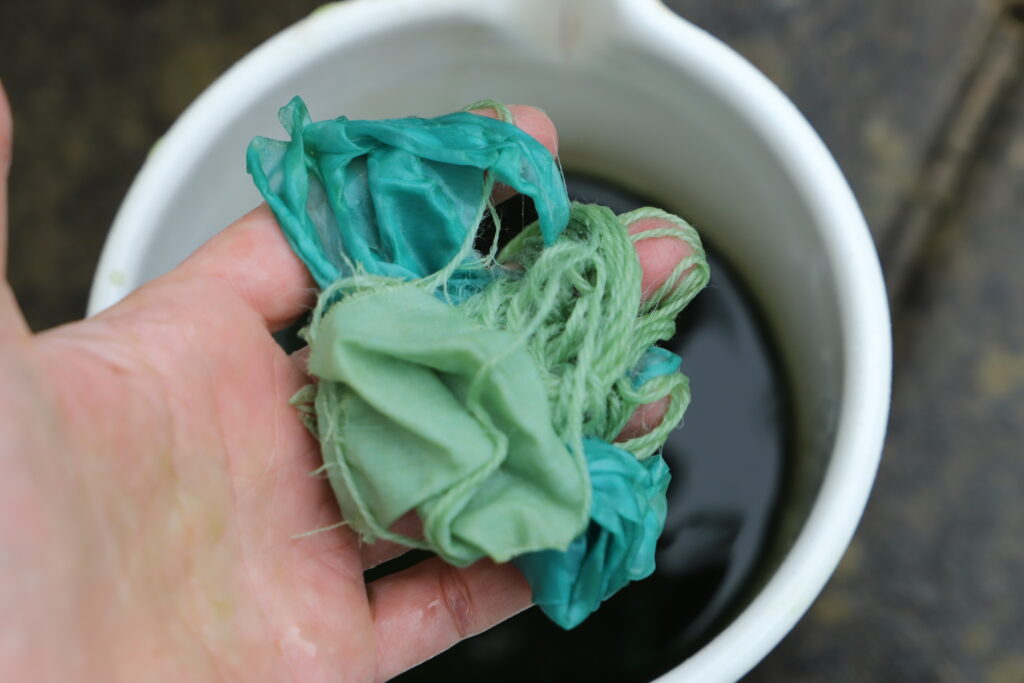
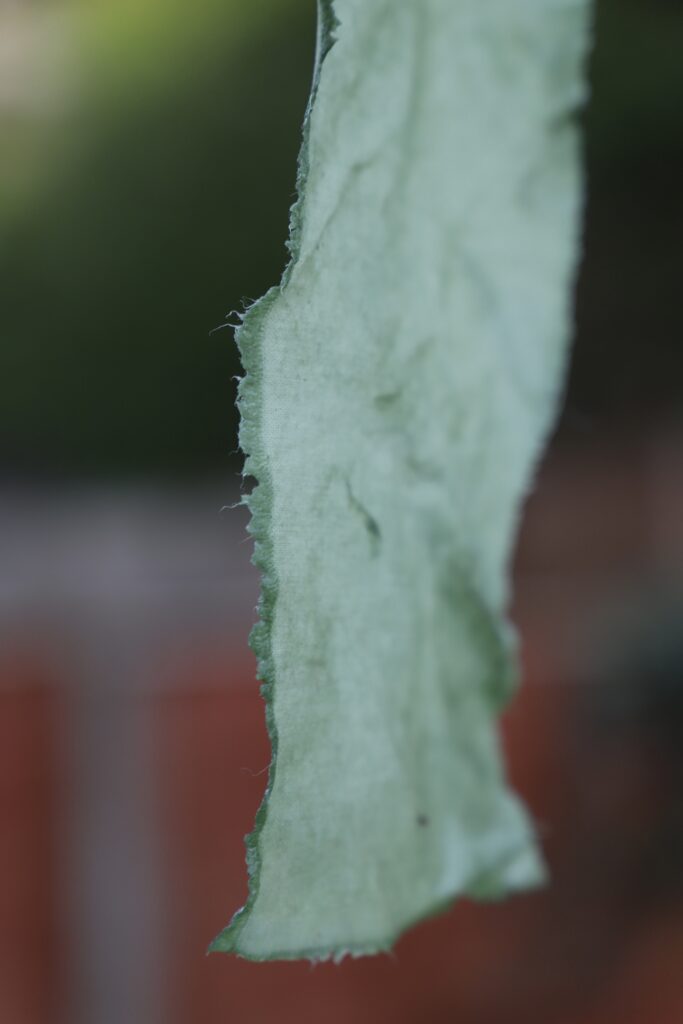
Instructions for extracting the dye & dyeing fibre:
- Add indigo leaves to the blender
- Cover with cold water
- Blend to a smoothie-like consistency
- Strain through a sieve/cloth
- Add your fibres to the dye
- Move them gently, making sure the dye is soaking into the fibres
- Remove fibres and let colour develop
- Return to dye & repeat for darker shades
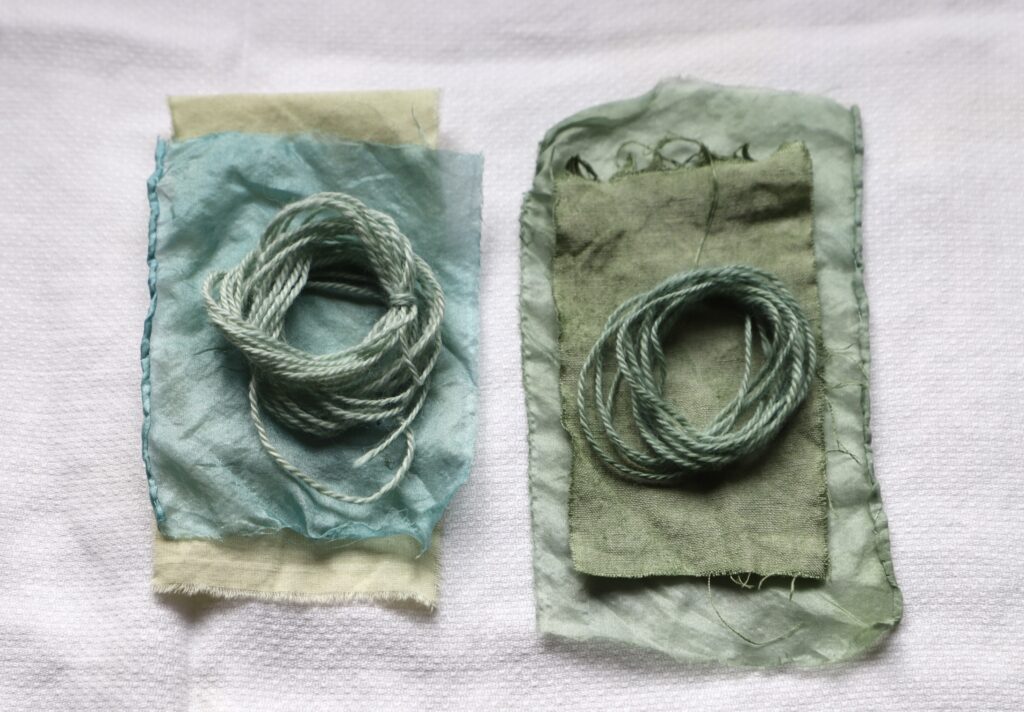
When I’m happy with the colours, I let the dye sit in the fibres for a few days before washing. To clean, hand wash with eco-friendly detergent & hang to dry.
Want to go further?
Fresh-leaf indigo dyeing is covered in depth inside The Complete Natural Dye Course’s module on historic and advanced natural colour. Explore the course →
Kathryn x



+ show Comments
- Hide Comments
LEAVE A COMMENT