If you’re looking for a beautiful, eco-friendly way to add colour to your fabrics, Buddleia (also known as the Butterfly Bush) is a fantastic option. In this guide, I’ll walk you through everything you need to know about using Buddleia for natural dyeing, from gathering materials to achieving the perfect shade of yellow.
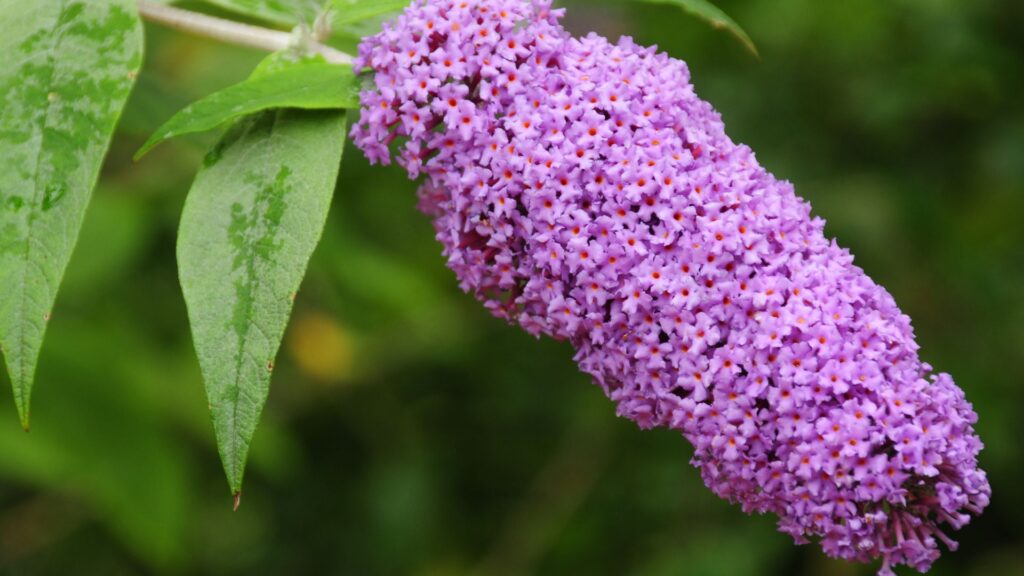
Why Choose Buddleia For Your Next Natural Dye Project?
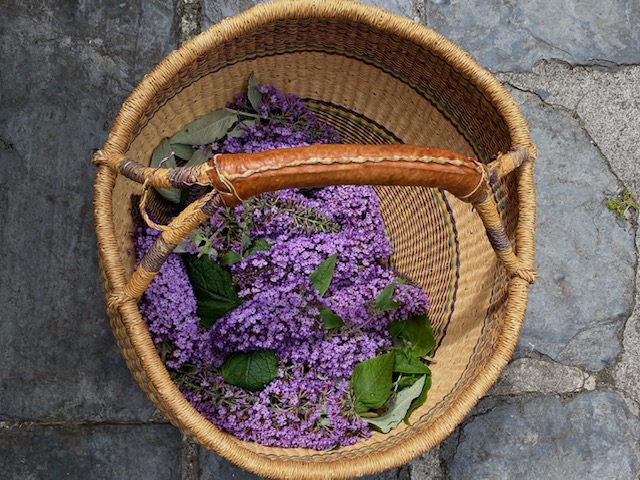
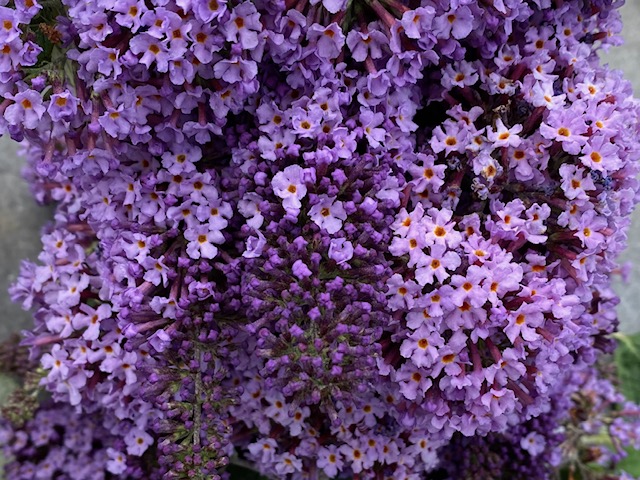
Buddleia, also known as the butterfly bush, summer lilac or Buddleja davidii is a popular garden plant known for its stunning clusters of flowers and its ability to attract pollinators like butterflies and bees.
While its vibrant perfumed clusters are great for pollinators, this plant produces many seeds (up to 3 million per plant per year!) dispersed by wind (of which there is no shortage in Ireland!) and can spread to a large area quickly. Buddleia is considered invasive in Ireland (and many other regions) as it out-competes and crowds out beneficial native plants that have been growing for centuries.
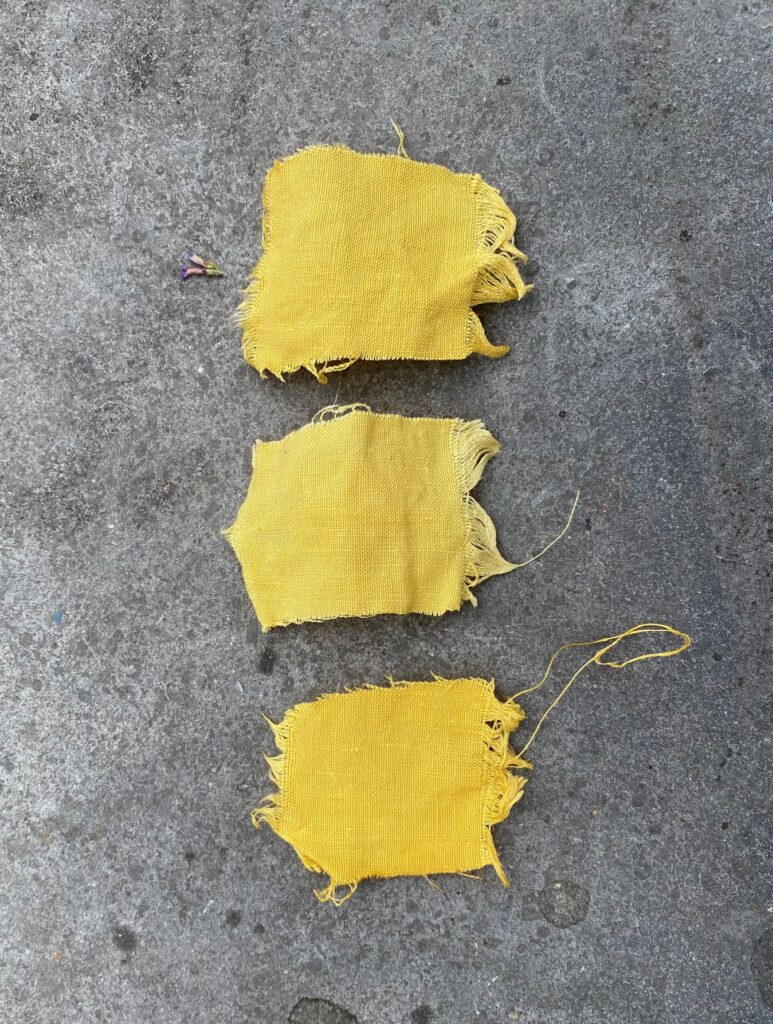
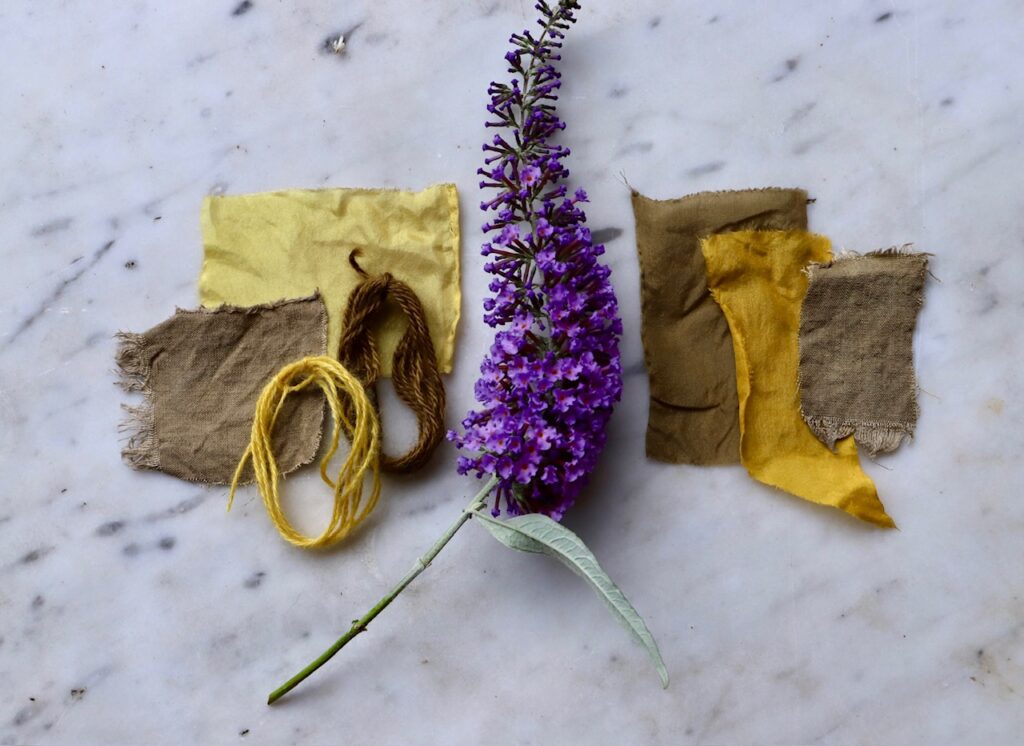
While the plant may be invasive, it is one of the most vibrant, saturated, and brilliant natural dye sources I have experimented with in years! If you want to experiment with vibrant dye plants, I strongly recommend you give Buddleia a go. Scroll down to see how to use Buddleia for natural dyeing, we’ll look at the process & colours, which range from bright yellow to ochre & green.
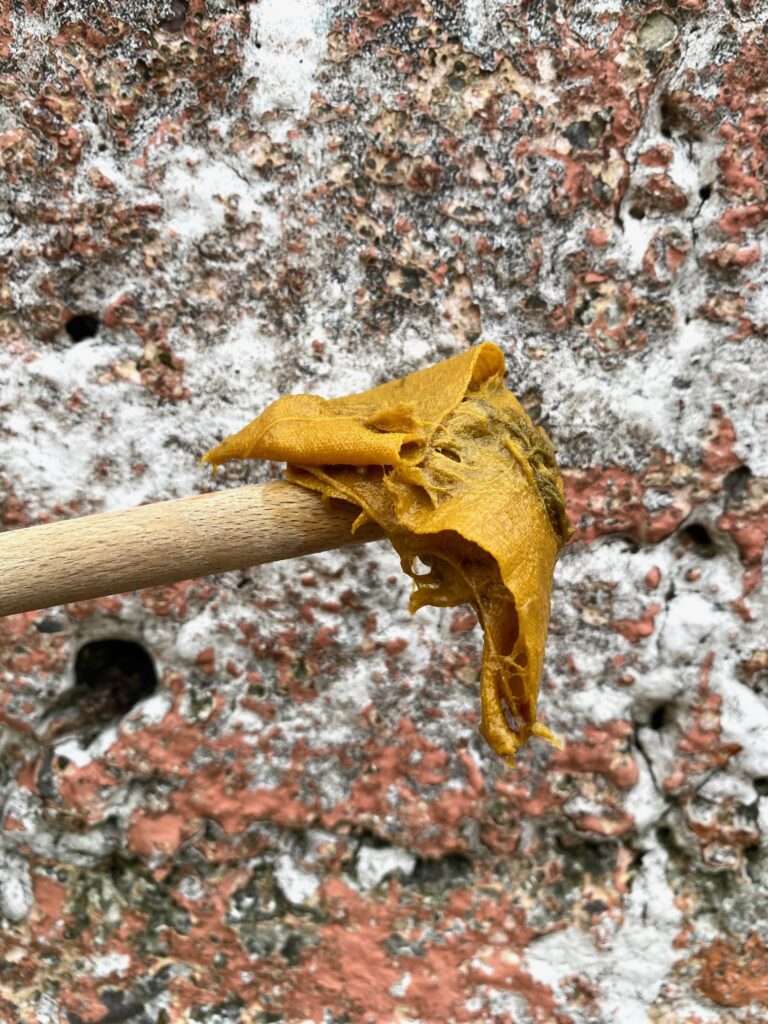
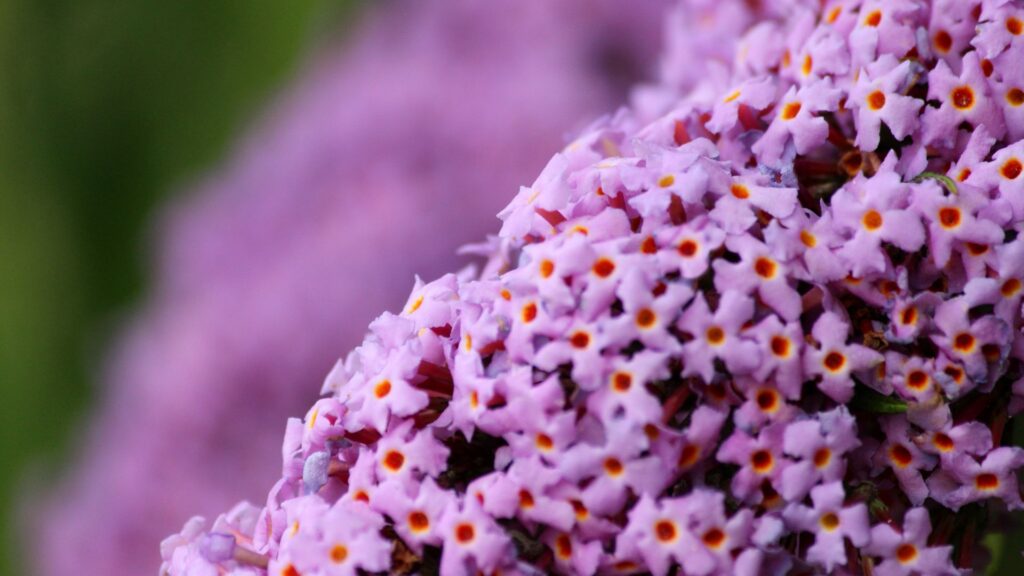
Why Is Buddleia A Great Natural Dye?
- It produces vibrant shades of yellow, ochre & green
- The dye extracts quickly
- The colour is saturated
- You don’t need much to get a strong dye
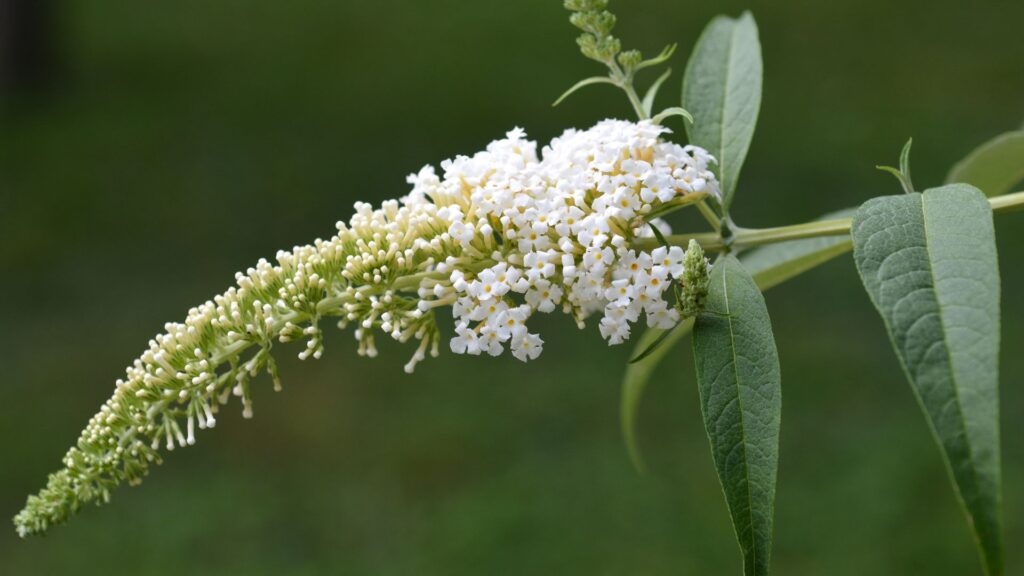
What You’ll Need To Naturally Dye With Buddleia
Before you start dyeing, gather the following materials:
- Buddleia flowers: Freshly harvested or dried.
- Fabric or yarn: Natural fibres like cotton, wool, or silk work best.
- Dye pot: Use a stainless steel or enamel pot.
- Sieve or Strainer: To remove the flower bits after simmering.
- Gloves and tongs: For handling hot fabric and dye.

How To Use Buddleia For Natural Dyeing
Step-by-Step Guide to Dyeing with Buddleia
1. Harvesting Buddleia Flowers
- The best time to harvest Buddleia flowers is in full bloom, typically from June to September.
- Snip off the flower heads, leaving some on the plant for pollinators.
- You can use the flowers fresh or dry them for later use.
- You can also use the stems & leaves
2. Preparing the Fabric
- Scour your fabric: Before dyeing, wash cellulose fabric with soda crystals. If you are dyeing wool, soak it overnight in a basin of cold water & 1 tsp. of dissolved dish soap per 100g fibre, rinse fully before adding to the dye bath.
- Soak your fibre in a basin of cold water while you prepare your dye.
3. Creating the Dye Bath
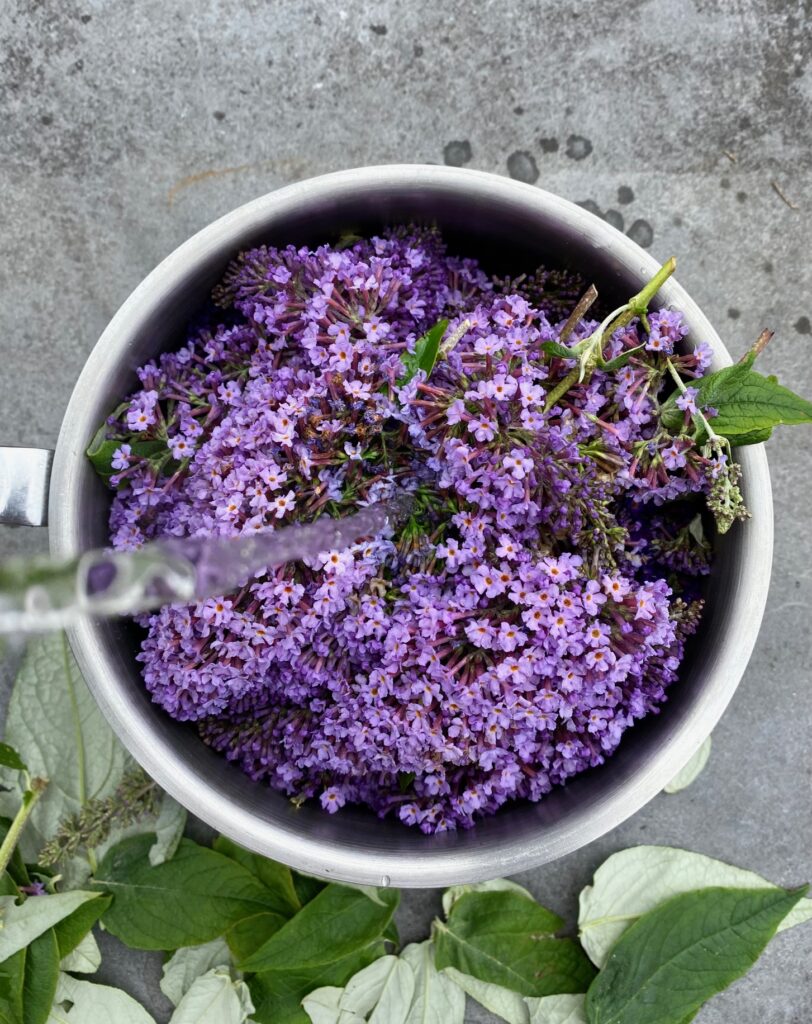
- Fill your dye pot with water and add the Buddleia flowers. Use a ratio of about 1:1 flower to fabric weight for a medium shade (weigh whatever you are dyeing, then use the same weight in flowers. Use more flowers for a stronger dye.
- Bring the water to a gentle simmer for 30-60 minutes. You’ll see the dye extract withing the first few minutes. The longer you let it steep, the stronger the dye will be.
- Strain out the flowers before adding your fabric.
4. Dyeing Your Fibre
- If you are working with plant fibre (linen, cotton, hemp) remove it from the basin of water, squeeze out the excess liquid then submerge your fibre in the dye bath.
- Simmer for one hour, stirring occasionally to ensure even colour.
- For a lighter shade, you can remove the fabric sooner; for a deeper yellow, leave the fibre in the dye bath overnight.
5. Rinsing & Drying
- After dyeing, remove your fibre and rinse it in cool water until it runs clear.
- Hang the fabric to dry away from direct sunlight.
Tips for Achieving the Perfect Shade
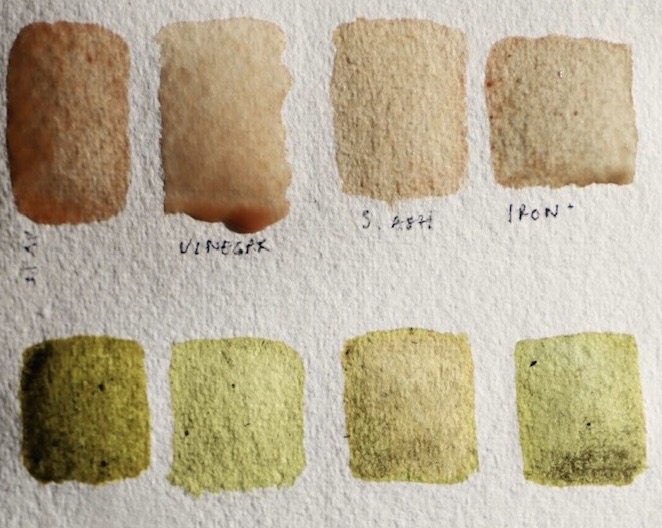
- Experiment with modifiers: After dyeing, you can dip the fabric in a solution of iron water to shift towards ochre or green.
- Layering dyes: If you’re looking for a more complex colour, try layering Buddleia dye with another natural dye, like madder or black tea for a golden hue.
Minimise Baddleias Invasive Impact on Native Species
It is recommended that gardeners remove the flower heads once the plant has provided nectar for butterflies, but before the plant sets seed in late summer or autumn.
Learn more about natural dyeing
If you want to learn about natural dyeing with simple ingredients like onion skins or avocado stones you can enrol in my free mini-course. ‘Naturally Dye Fabric With Avocado Stones‘. The class is hosted on teachable, to enrol enter your email & create a password.
Free Natural Dye Resources
For more beginner guides, look at other natural dye tutorials here. If you have been wanting to give natural dyeing a go, I would strongly recommend you start with avocados for surprising pinks or yellow onion skins for, you guessed it, yellows:) These are fun dyes, as neither requires a mordant, making them more straightforward. If you’re looking for a project to entertain yourself or a project for your kids, why not give this a go? Avocados are a great dye to introduce kids to the process & teach them about the richness of our natural world. Grab a plain t-shirt, an old pillow case or something white, off-white or cream & get dyeing.
Natural Dye Colour Guide
If you would like to learn more about the colours you can get from dye plants or sources of natural colour, take a look at ‘The Guide To Natural Colour & Plant Dyes‘ ebook. This comprehensive download will give you access to 200+ dye plants, detailed by plant type & colour. Cost: €18.
EXPAND YOUR NATURAL DYE SKILLS & DEEPEN YOUR PRACTICE
Whether experimenting with this plant or curious about other natural dyes, there’s so much more to discover. In the next few weeks, I’ll be re-opening enrolment for my Foundational Natural Dye Course & Coaching, where we’ll dive deep into the art and science of creating beautiful, sustainable colours from nature.
If you want to deepen your practice, this course will take you through foundational techniques of natural dyeing. Expand your craft & elevate your learning with live classes, a full natural dye curriculum & expert guidance to help you along the way. Keep an eye out for more details.
Until then, happy colour adventures!
x Kathryn
+ show Comments
- Hide Comments
add a comment