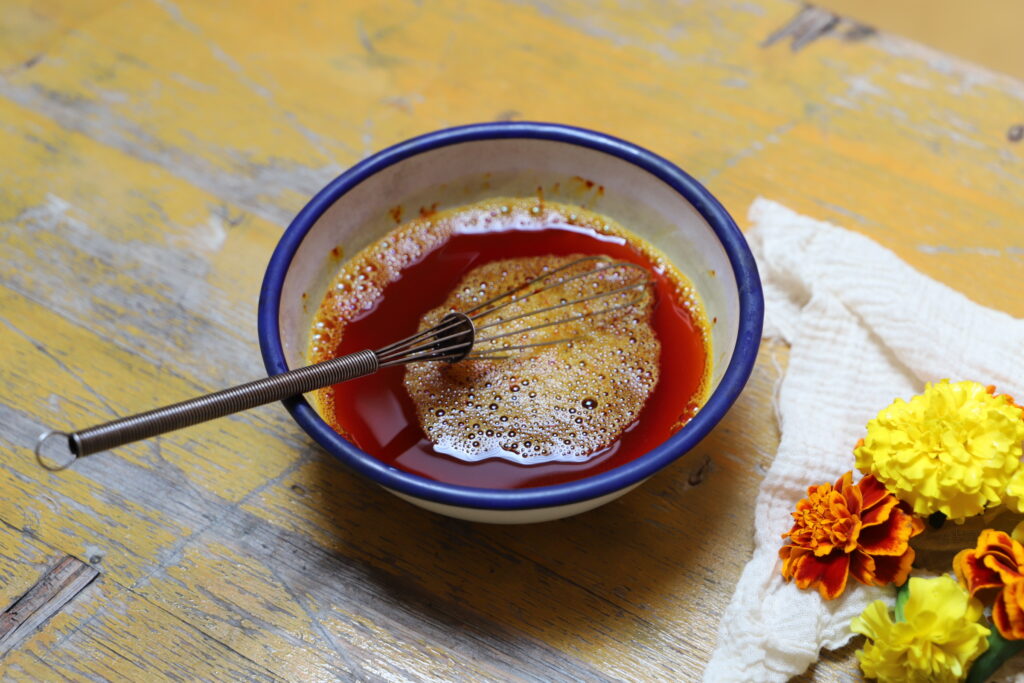
This summer was officially our wettest summer on record. With a season of grey skies, I was looking for summer & warmth anywhere I could find it. With the inescapable state of the weather and the depressing reality of climate change, I found myself drawn to all things bright & warm! Since working with marigold dye powder & coming to appreciate its colour potential, I have been cultivating & saving the flowers for further experiments. Without further adieu, let’s take a look at how to dye with marigold.
Mary’s Gold
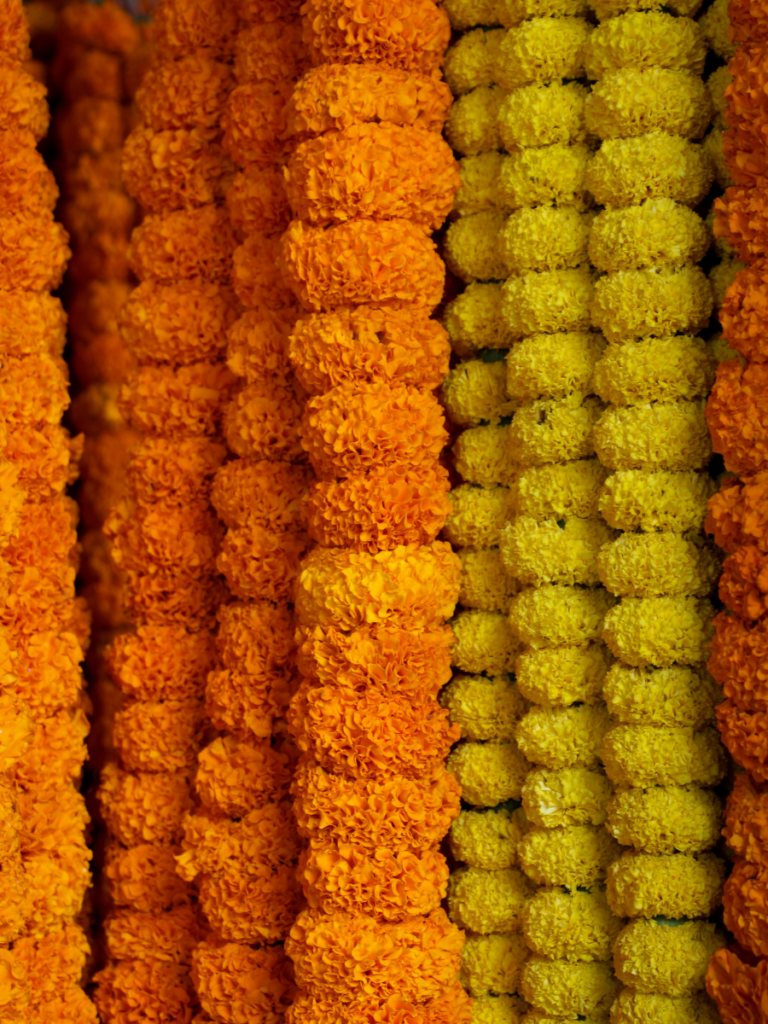
The Marigold’s roots can be traced back to the distant lands of South America. In the early 16th century, Spanish explorers journeyed to Mexico in search of new territories. During their encounters with the Aztecs, they acquired Marigold seeds and introduced the flower to France, Spain, Northern Africa & most famously India.
European sailors & Christian pheasants often offered Marigold flowers on the Virgin Mary’s altar, instead of coins- which they couldn’t afford, believing they would provide protection against evil & bring good fortune.
And that is how they got their name, “Marigold” … Mary’s Gold.
Marigold As A Dye Plant
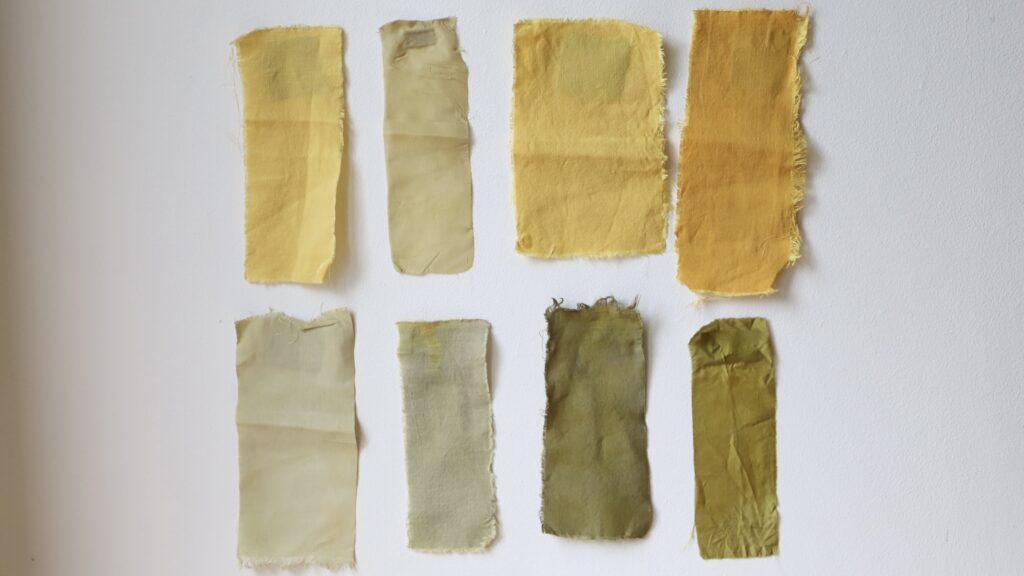
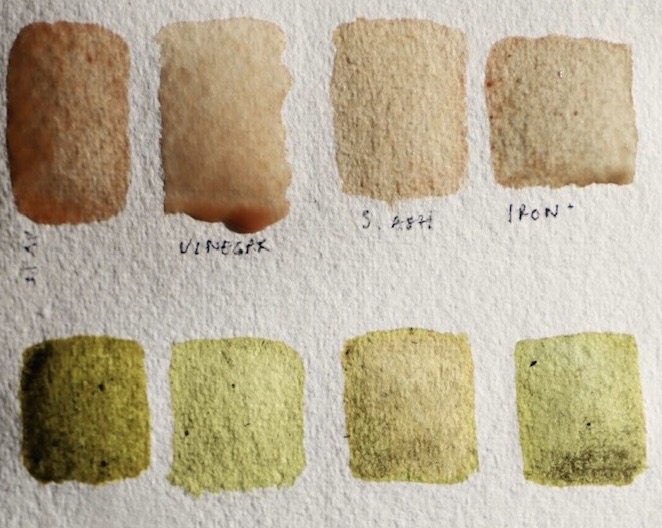
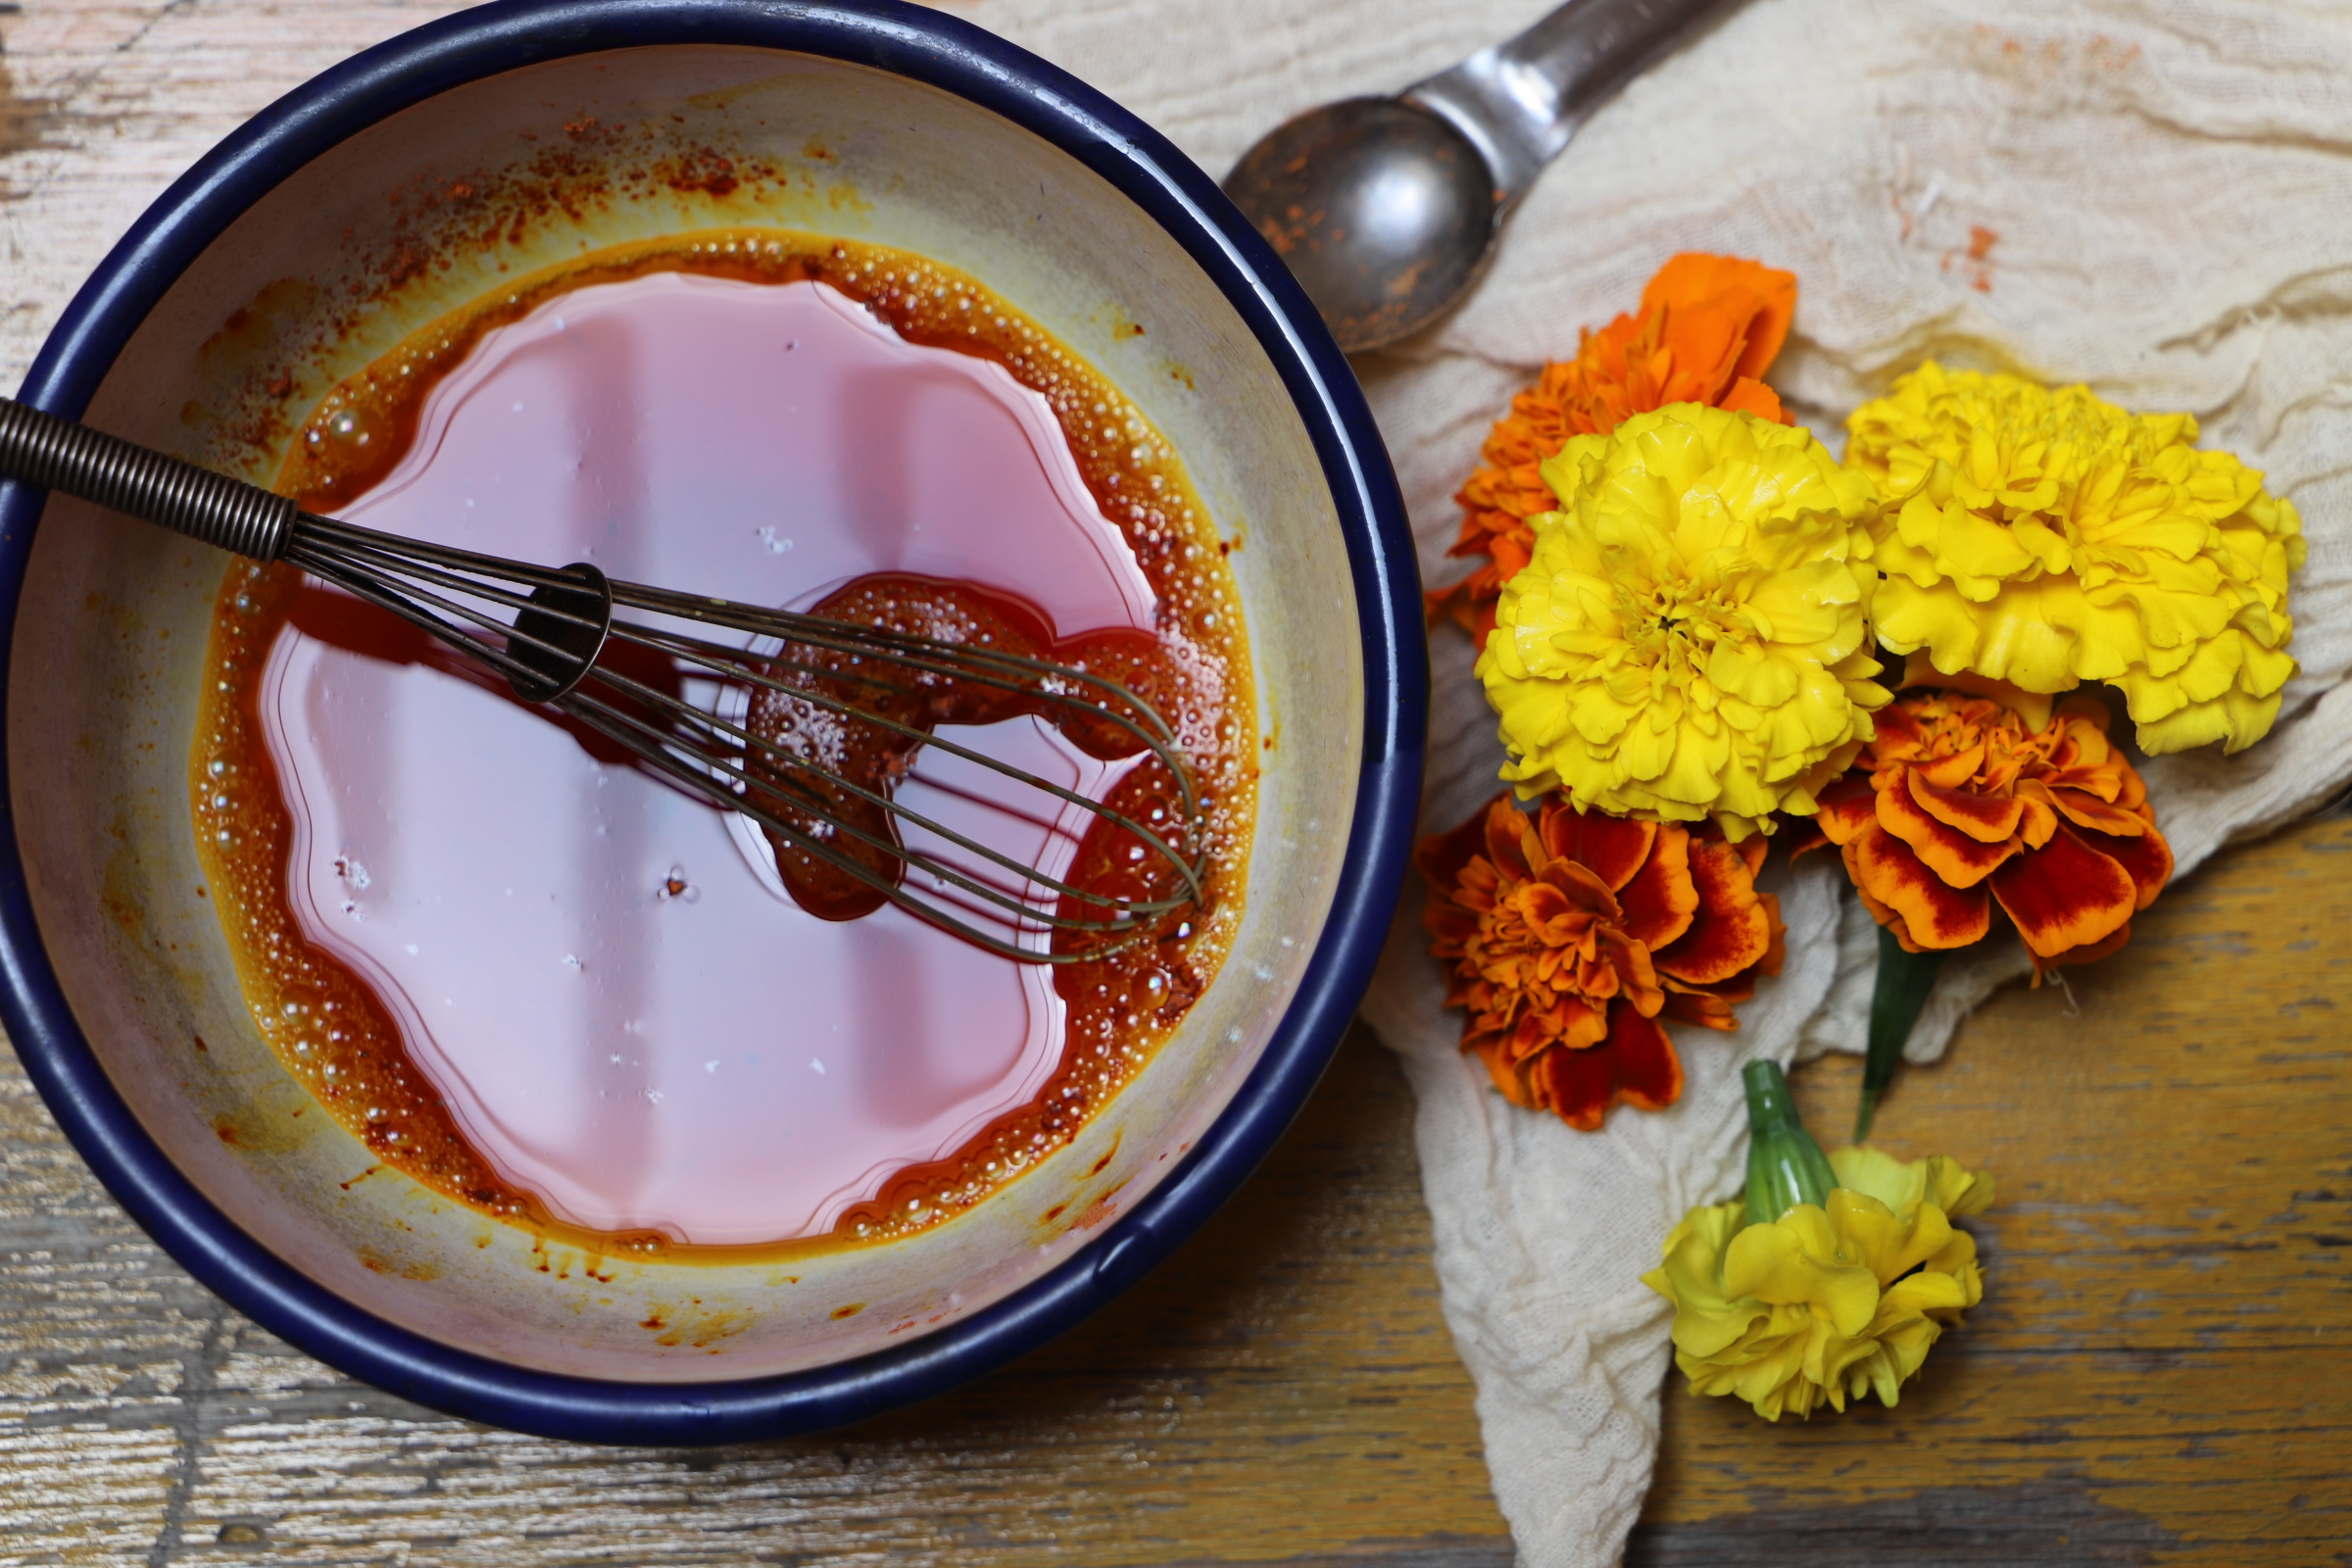
If you take a trip to a garden centre in Ireland during the summer months, you will see marigolds everywhere. A common choice for gardeners due to its pest-repellent properties, it is often found around the borders of vegetable patches. As a natural dye plant, you can use the flowers & plant tops with colours ranging from butter, gold & yellow to orange. When modified with alum & iron, you can expect shades of olive-green. If you have access to the flowers, consider picking & drying them for use later on in the year or for eco-printing projects (see my previous post here).
To dye with marigold you will need:
- Marigold plants or concentrated dye powder
- Dye pot
- Sieve
- Whisk (if using powder)
- Small bowl
- Water
- Wooden spoon
- Scoured & mordanted fibre or fabric
How to Make A Dye From Marigold Flowers
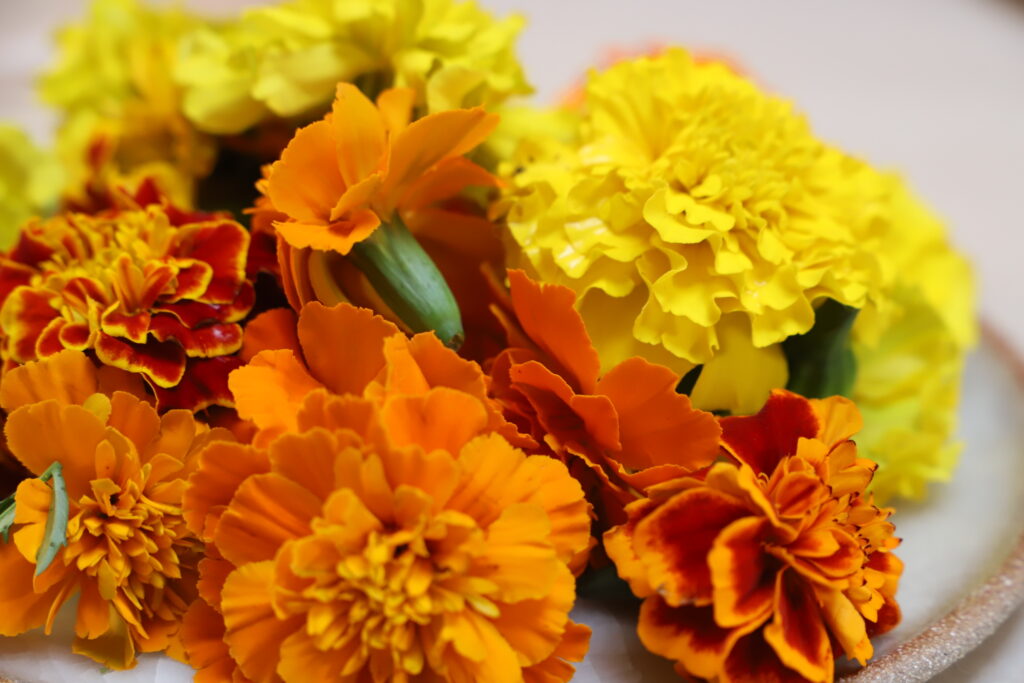
To make dye, you can work with flowers, plant tops or both. Snip the flowers from the stems, add to a pot of water then simmer gently for 1-2 hours. Once the liquid has changed colour & you have a nice strong dye to work with, strain out the plant parts & add your scoured and mordanted fibres to the dye pot.
Step-by-step instructions:
- Add your marigolds to a pot & cover with water.
- Place on the stove & add gentle heat.
- Simmer for 1-2 hours or until the water changes colour.
- Once you have a strong dye, strain out the plant parts.
- Add your scoured & mordanted fibre and leave in the dye until you’re happy with the colour. If dyeing cotton, linen or plant fibre you can add your fibre to the pot. If dyeing animal fibre, allow the dye to cool completely then add your fibre.
- Leave in the dye until you are happy with the colour, then remove from the dye, rinse & hang to dry.
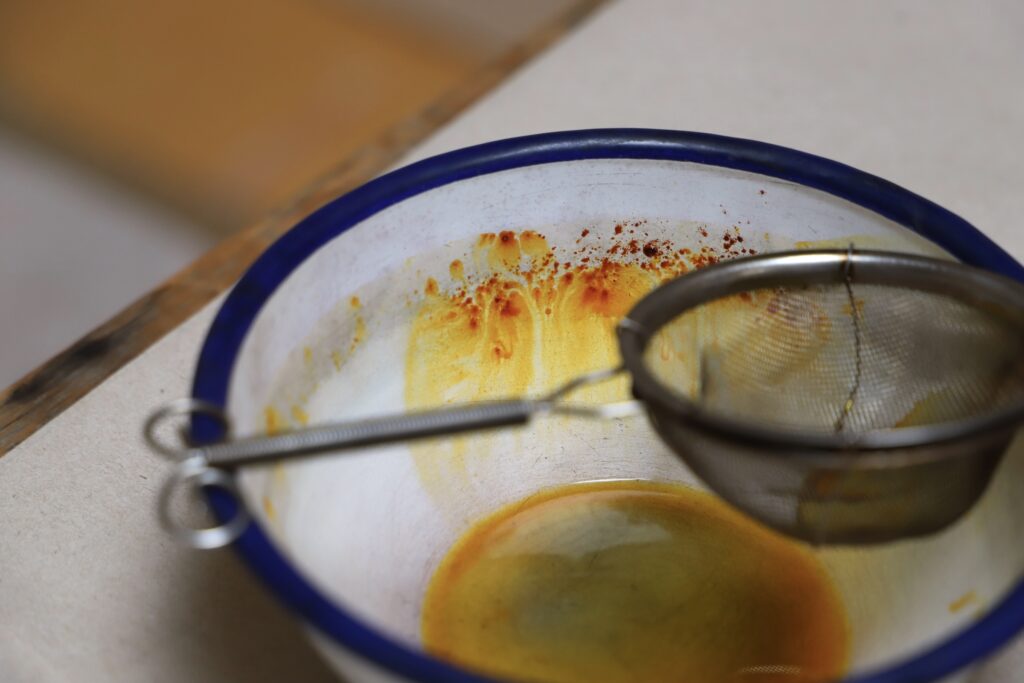
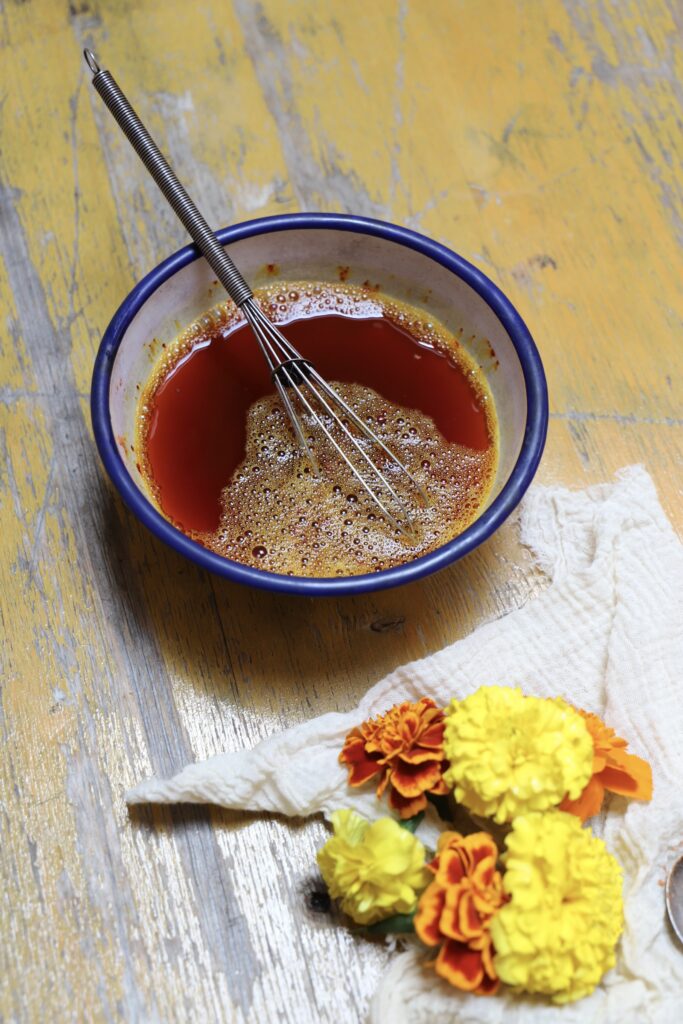
To make a dye bath from marigold powder:
Dissolve your powder in a small container of hot water, whisk until all the powder has dissolved & no clumps remain. Add this to a pot of water then add your scoured & mordanted fibre, simmer gently until you are happy with the colour, remove, rinse & hang to dry.
Step-by-step instructions:
- Measure your fibre and take note of the weight.
- Dissolve the powder in a small amount of hot water and whisk until all the clumps have dissolved.
- Place on the stove & add gentle heat.
- Simmer for 15 minutes, then add your scoured & mordanted fibre. If dyeing cotton, linen or plant fibre you can add your fibre to the pot. If dyeing animal fibre, allow the dye to cool completely then add your fibre. You might need to wait until the next day for the dye to cool completely.
- Leave in the dye until you are happy with the colour, then remove from the dye, rinse & hang to dry
How much marigold should I use?
Raw Flowers:
For strong colours, I recommend using 3-4 x the weight of raw plant material for your fibre, for every 100g of fibre use 300-400g of raw plant material. For paler shades, use equal parts of plant material to fibre.
Marigold Dye Powder:
For medium shades; I recommend using 1/2 tsp. for every 100g of fibre. For darker shades, use 1tsp. (or more) for every 100g of fibre.
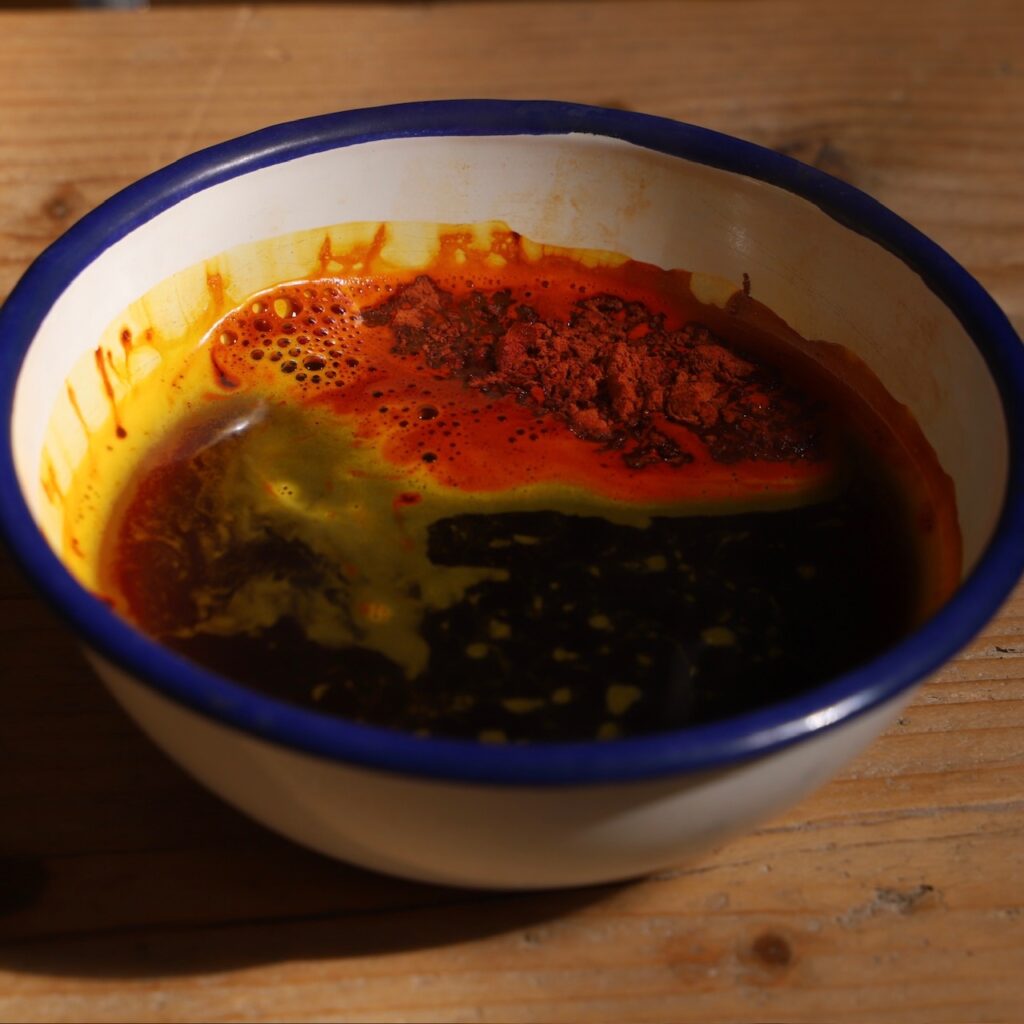
Marigold is such a beautiful plant & flower to work with, you can use the dye & the petals work great for eco-printing. Let me know if you have dyed with marigolds before or if you’re curious to try, I would love to hear what you think of it or your experience working with it.
Learn More About Natural Dyeing
If you want to learn about natural dyeing with simple ingredients you can enrol in my free mini-course. ‘Naturally Dye Fabric With Avocado Stones‘. The class is hosted on teachable, to enrol enter your email & create a password.
Free Natural Dye Resources
For more beginner guides, look at other natural dye tutorials here. If you have been wanting to give natural dyeing a go, I would strongly recommend you start with avocados for surprising pinks or yellow onion skins for, you guessed it, yellows:) These are fun dyes, as neither requires a mordant, making them more straightforward. If you’re looking for a project to entertain yourself or a project for your kids, why not give this a go? Avocados are a great dye to introduce kids to the process & teach them about the richness of our natural world. Grab a plain t-shirt, an old pillow case or something white, off-white or cream & get dyeing.
Natural Dye Colour Guide
If you would like to learn more about the colours you can get from dye plants or sources of natural colour, take a look at ‘The Guide To Natural Colour & Plant Dyes‘ ebook. This comprehensive download will give you access to 200+ dye plants, detailed by plant type & colour. Cost: €18.
Expand Your Natural Dye Skills & Deepen Your Practice
Whether experimenting with this plant or curious about other natural dyes, there’s so much more to discover. In the next few weeks, I’ll be re-opening enrolment for my Foundational Natural Dye Course & Coaching, where we’ll dive deep into the art and science of creating beautiful, sustainable colours from nature.
If you want to deepen your practice, this course will take you through foundational techniques of natural dyeing. Expand your craft & elevate your learning with live classes, a full natural dye curriculum & expert guidance to help you along the way. Keep an eye out for more details.
Until then, happy colour adventures!
x Kathryn
+ show Comments
- Hide Comments
add a comment