


If you’re wondering how to dye eggs naturally, this post is for you!
A few people have been asking me for this naturally dyed Easter egg tutorial so if you’ve been looking for instructions on how to make natural dye for Easter eggs, here it is! Creating naturally dyed eggs is a fun & satisfying project to do with kids. It involves taking previously boiled eggs (if you have the time you could blow the yolk & white out) creating a natural dye bath, decorating the eggs, then adding them to the dye bath & simmering in the dye. Before you start you will need to do a small bit of preparation, but the project itself is straightforward.
Natural dye for Easter eggs
A few notes before you begin:
- The tutorial below is for dying 6 eggs. The more eggs you dye the more plant material you will need. Use at least 100g of dried material for 6 eggs.
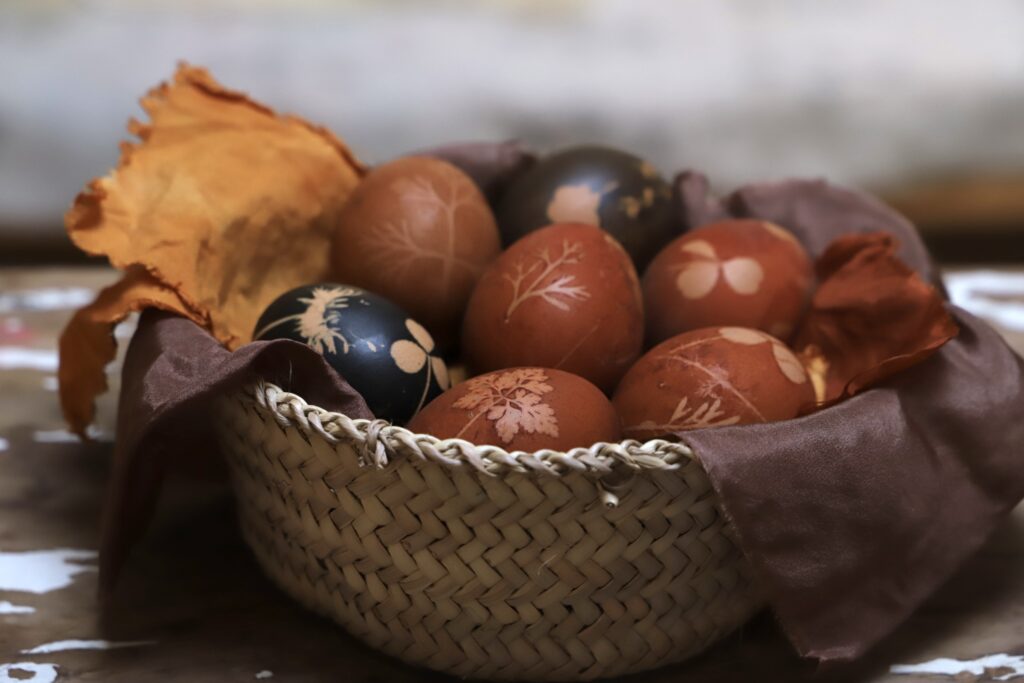
- I used yellow onion skins & dried hibiscus flowers & but you could also try making a dye from red cabbage, red onion skins, turmeric powder, coffee granules or black tea.
- Before you cut the tights, use an egg to measure & see how much length you will need to wrap the eggs. Tie them securely at one end.
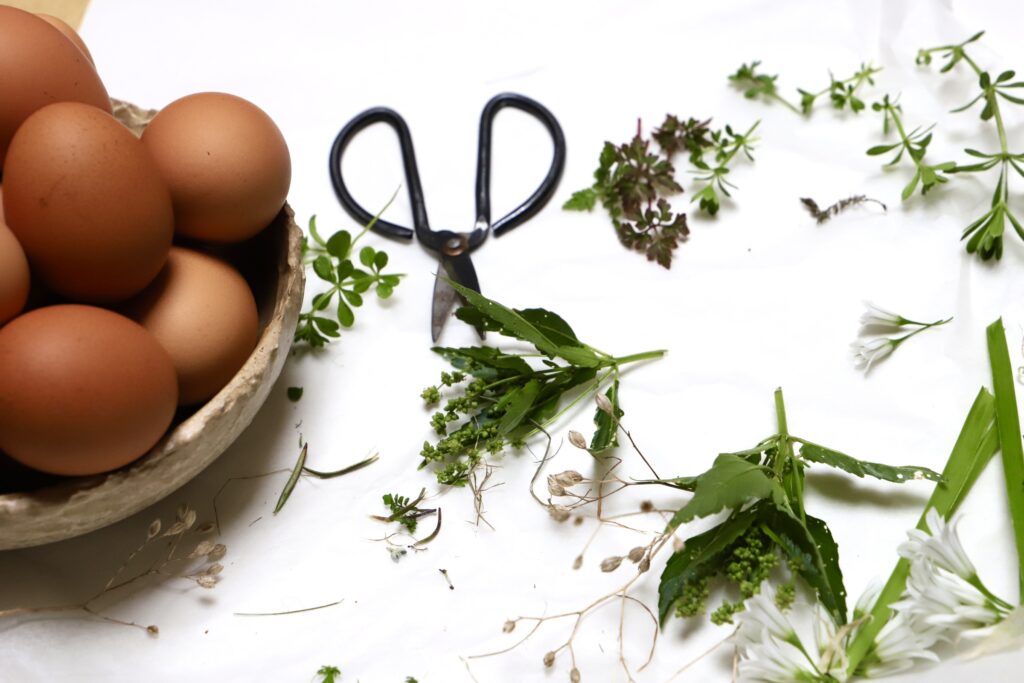
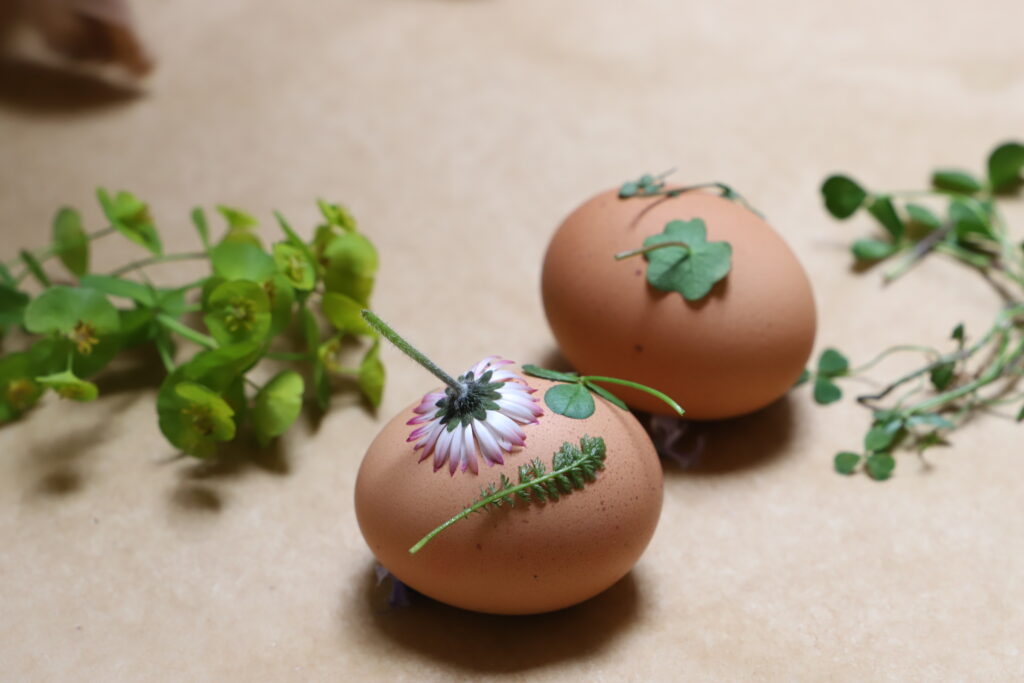
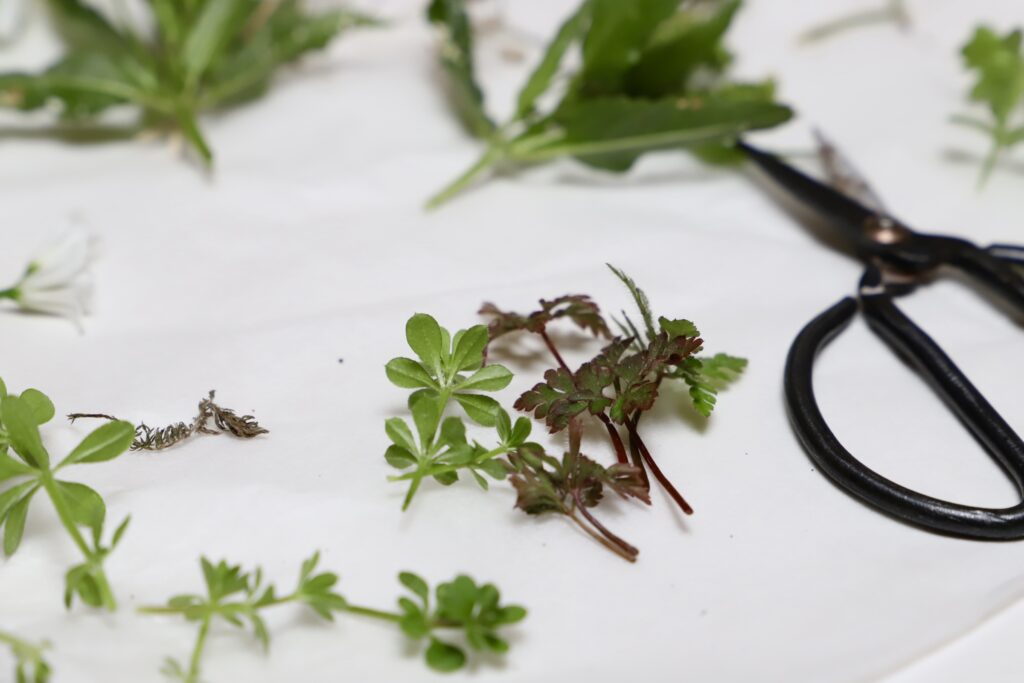
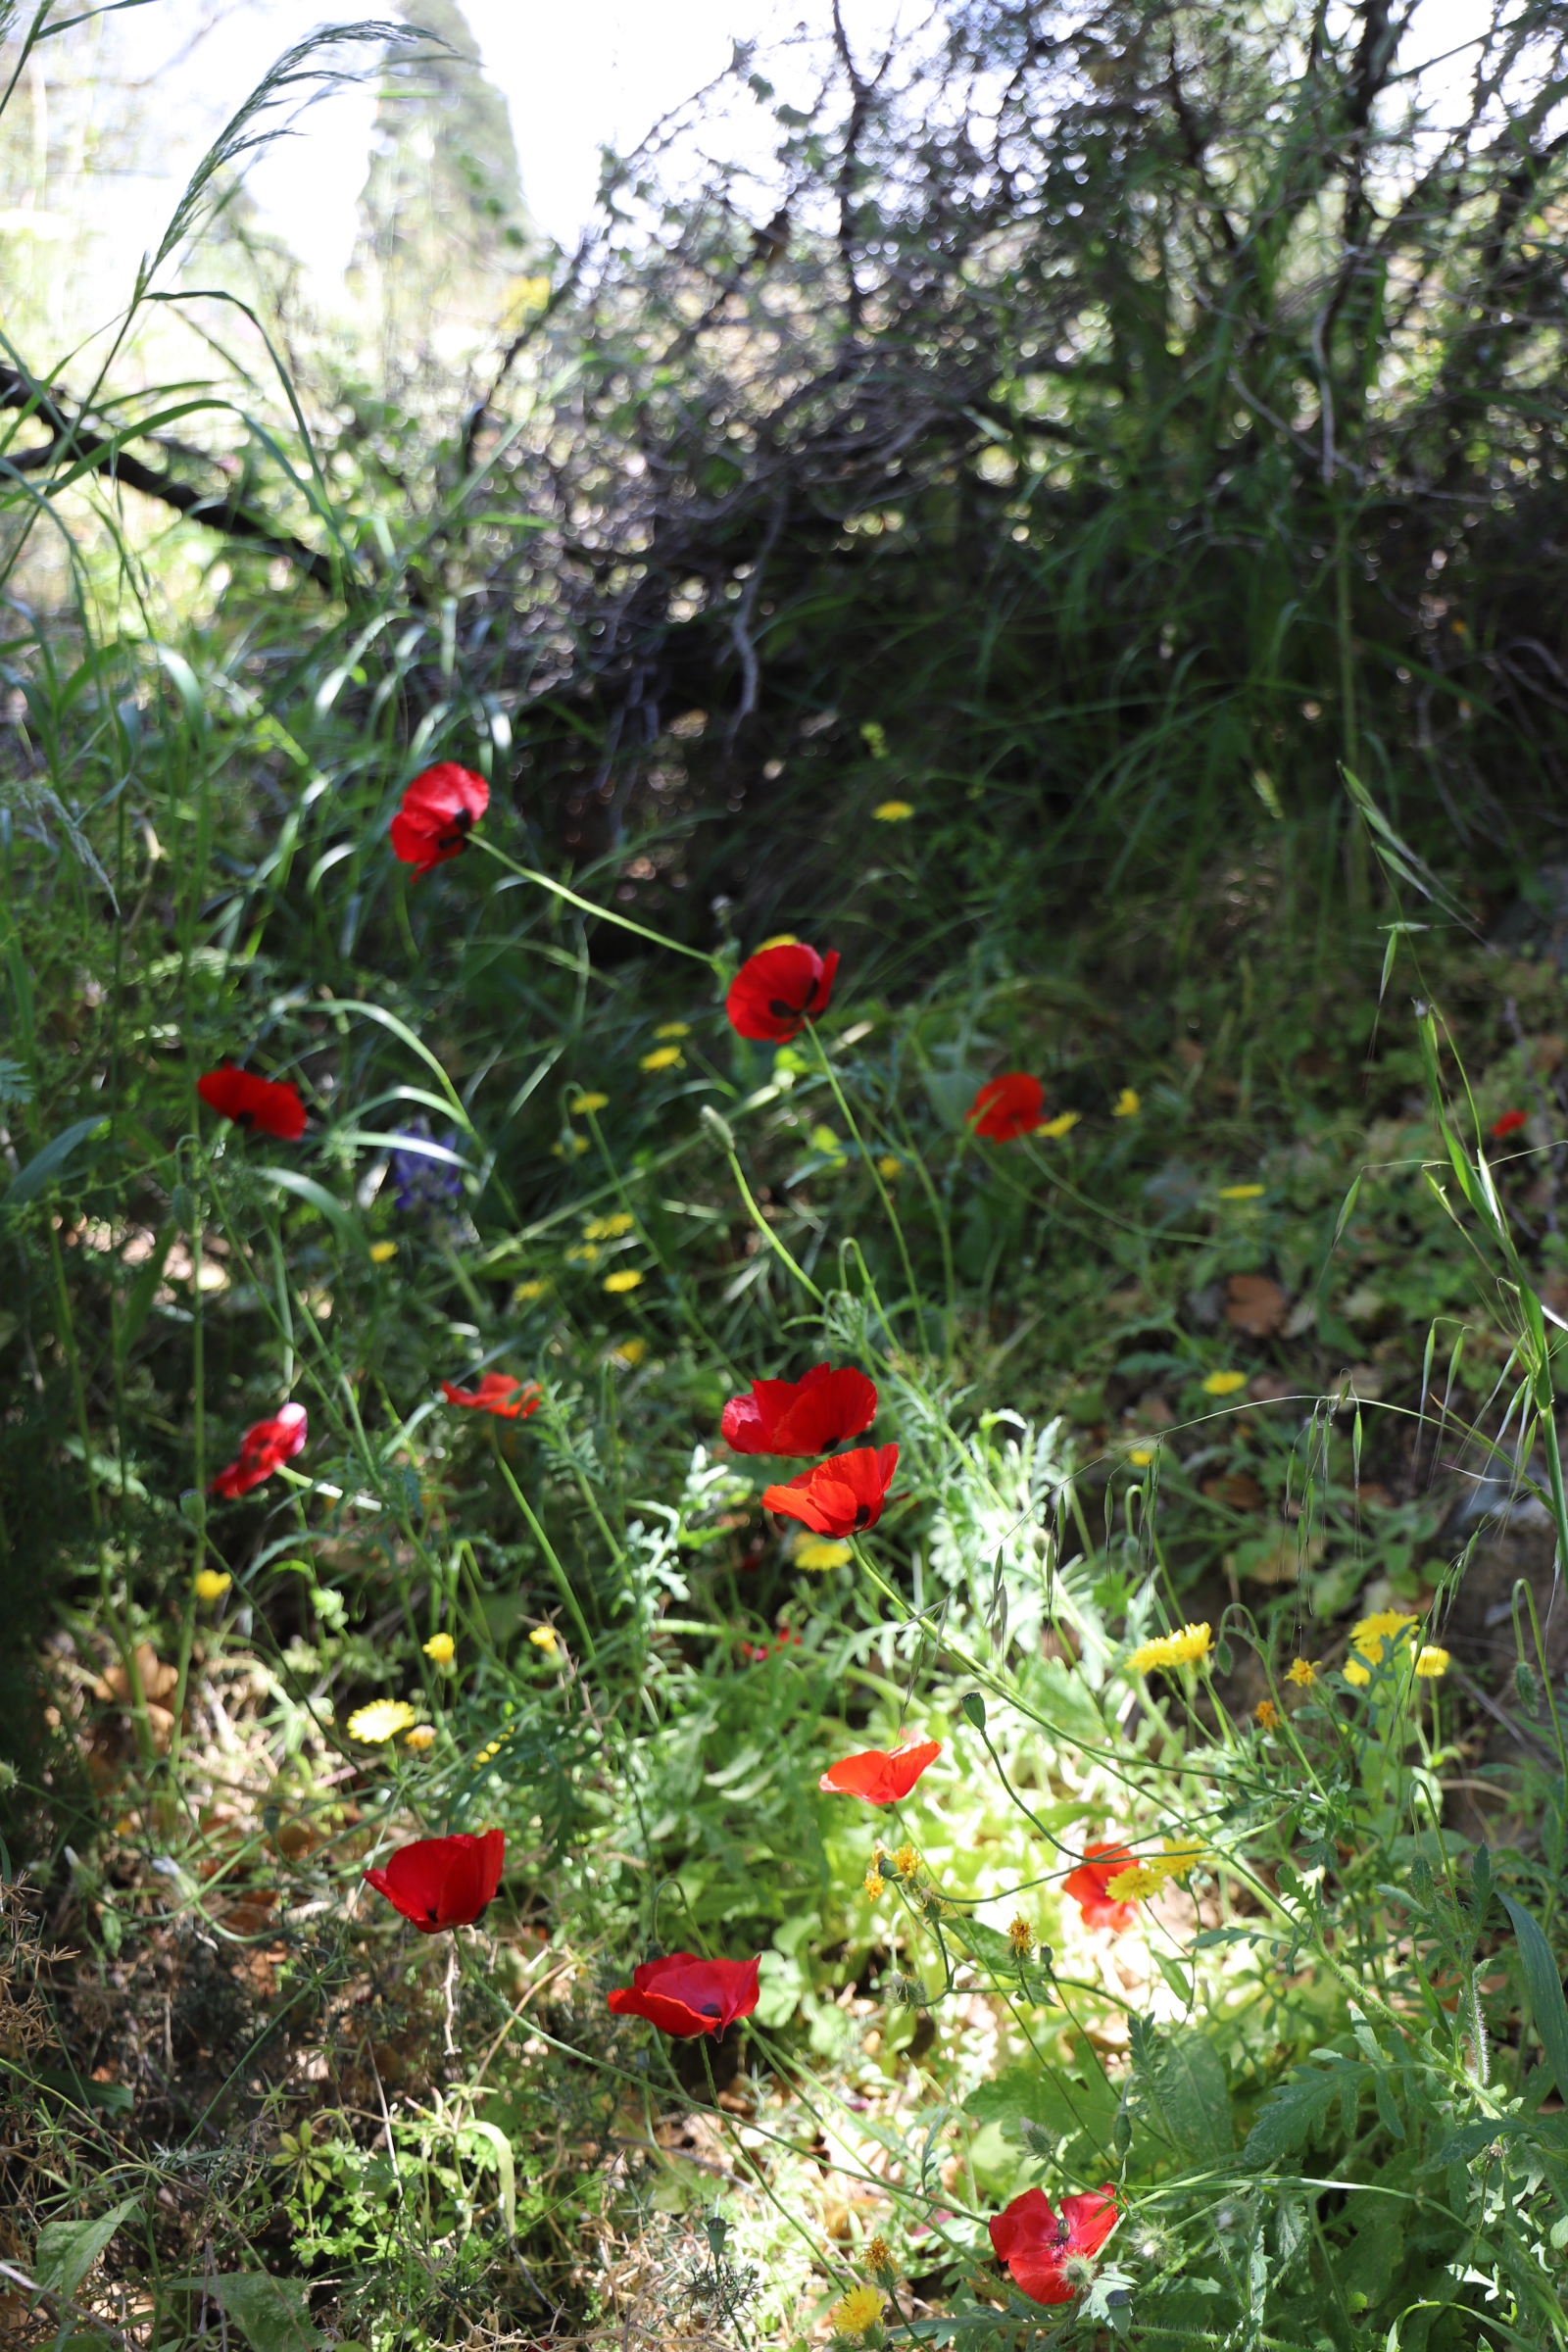
- I gathered small weeds, daisies & shamrocks, to make my patterns. Look for the smallest plants growing, they should give you some delicate patterns.
How to naturally dye Easter eggs
You will need:
- Pot
- Sieve
- Scissors
- Wooden spoon
- Previously boiled Eggs
- A selection of small leaves or flowers
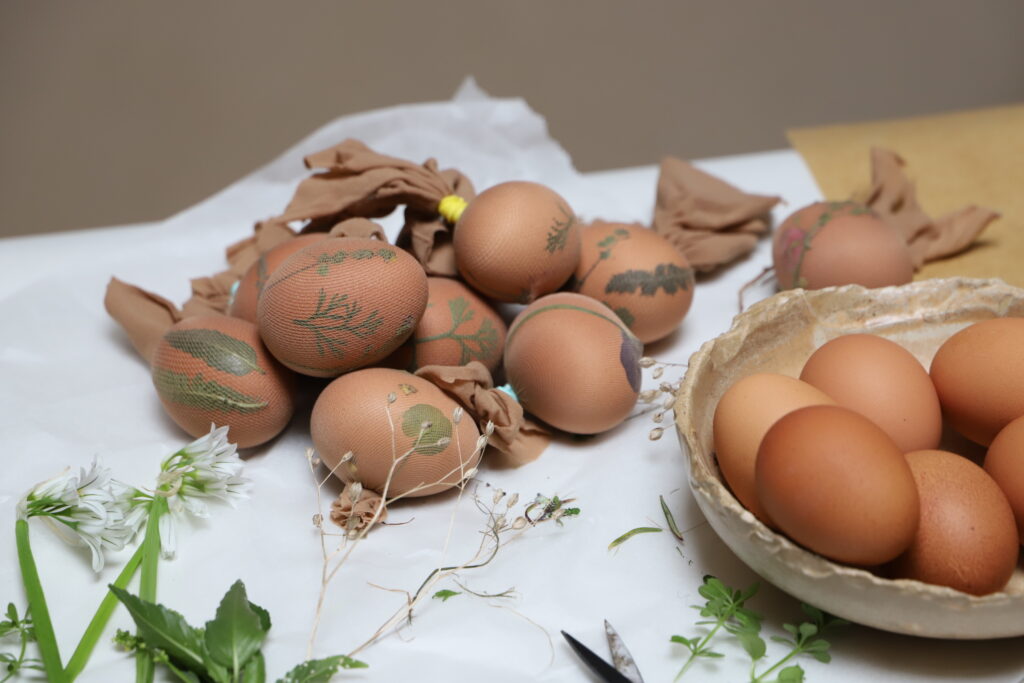
- 1-2 pairs of nylon stockings
- String or elastic bands
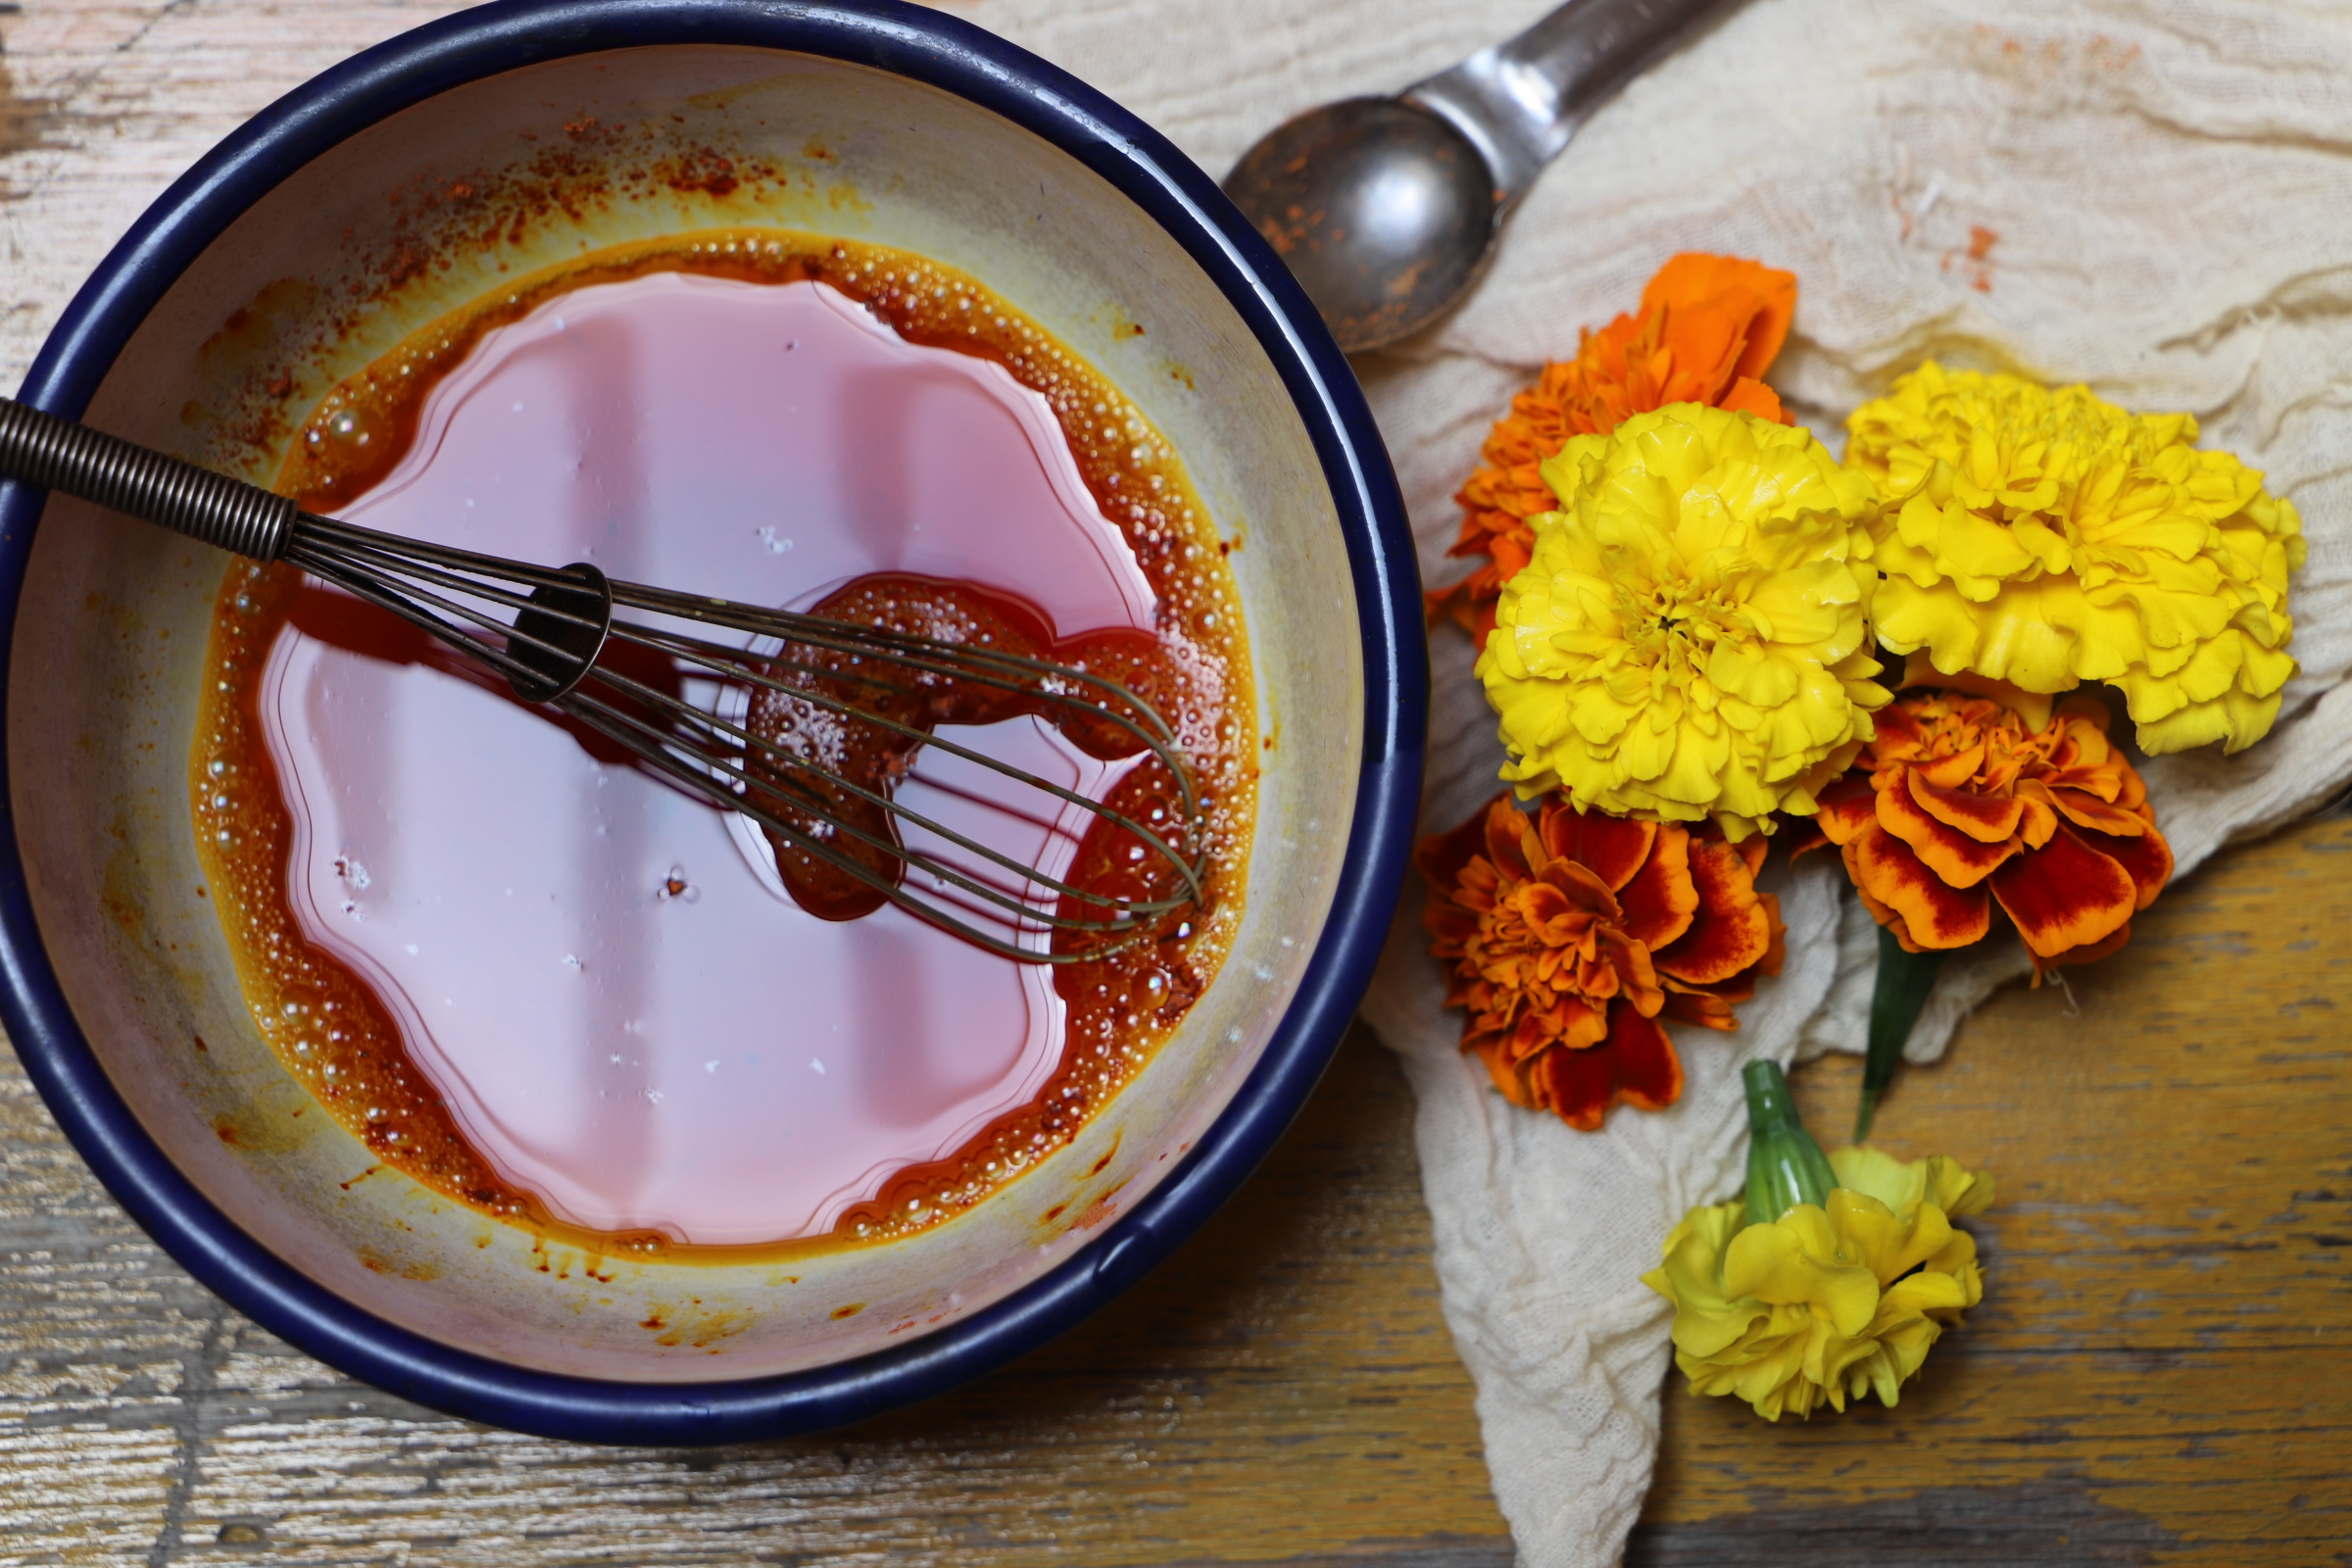
- Dye material. I used yellow onion skins from 10-20 onions
- A small bowl of water (for wetting the flowers or leaves)
How to make natural dyes for easter eggs:
Onion skin dye
- Take the onion skins & place these in a medium-sized pot.
- Cover with hot water & simmer gently for 45-1hr.
- When the water changes to a yellow-orange colour, your dye is ready.
- Turn off the heat, strain out all the skins & set the pot aside while you work on your eggs.
Hibiscus dye
- Take the dried hibiscus flowers & place these in a medium-sized pot.
- Cover with hot water & simmer gently for 30 minutes.
- Turn off the heat & strain out the flowers
- Your dye is ready to use.
How to pattern & dye eggs naturally:
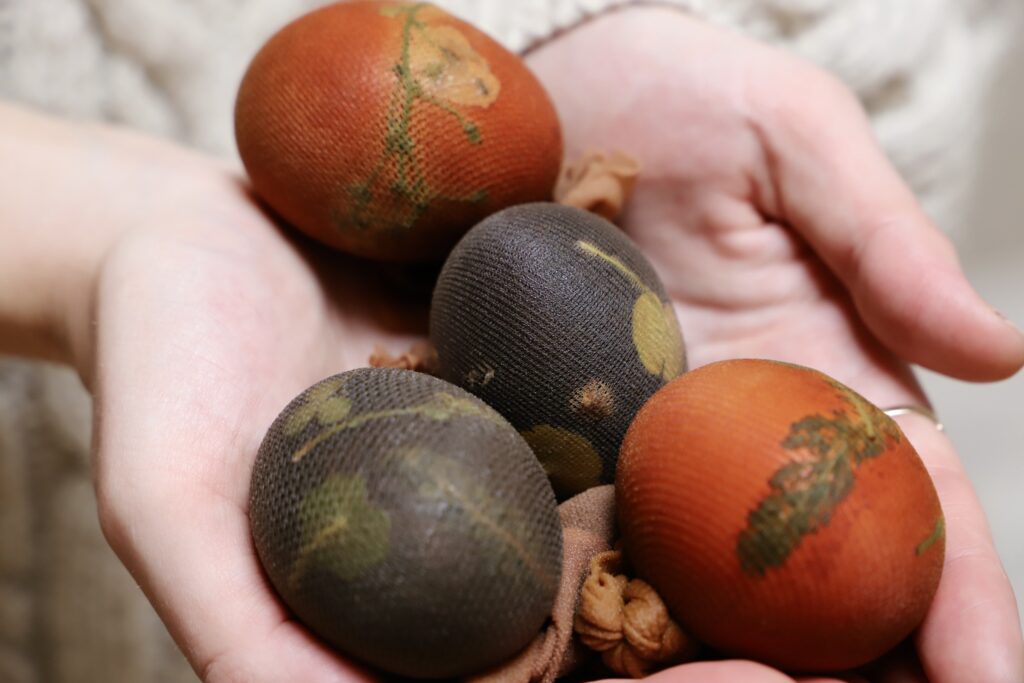
- Take your egg & carefully place small leaves or flowers face down on the surface. You can use your fingers to apply a little water to help them stay in place.
- Take a section of previously cut tight, tie a knot in one end then carefully wrap the nylon around the egg, keeping the leaves or flowers in place & secure with a knot, string or elastic bands. The stocking should wrap securely around the egg to keep the foliage in place.
- Repeat this will all your eggs.
- Once all your eggs are decorated & wrapped, gently place them in the onion dye.
- Return to the heat & simmer very gently for 30 minutes, turn off the heat and leave the eggs in the dye bath overnight for a more defined pattern.
- The next day, remove the eggs from the dye. The longer you can leave the eggs in the dye, the stronger your colours & patterns will be.
- Remove the tights & very carefully peel the leaves from the shell then leave them to dry.
If you’d like another fun naturally dyed project to do with kids my botanical inks & paint-making tutorial is a little more involved but also straightforward & enjoyable. If you give this a try or you’ve tried to make naturally dyed Easter eggs before let me know how you got on. My first attempt wasn’t as successful as the second so be patient with yourself if your eggs don’t turn out great the first time. x Kathryn


+ show Comments
- Hide Comments
add a comment